
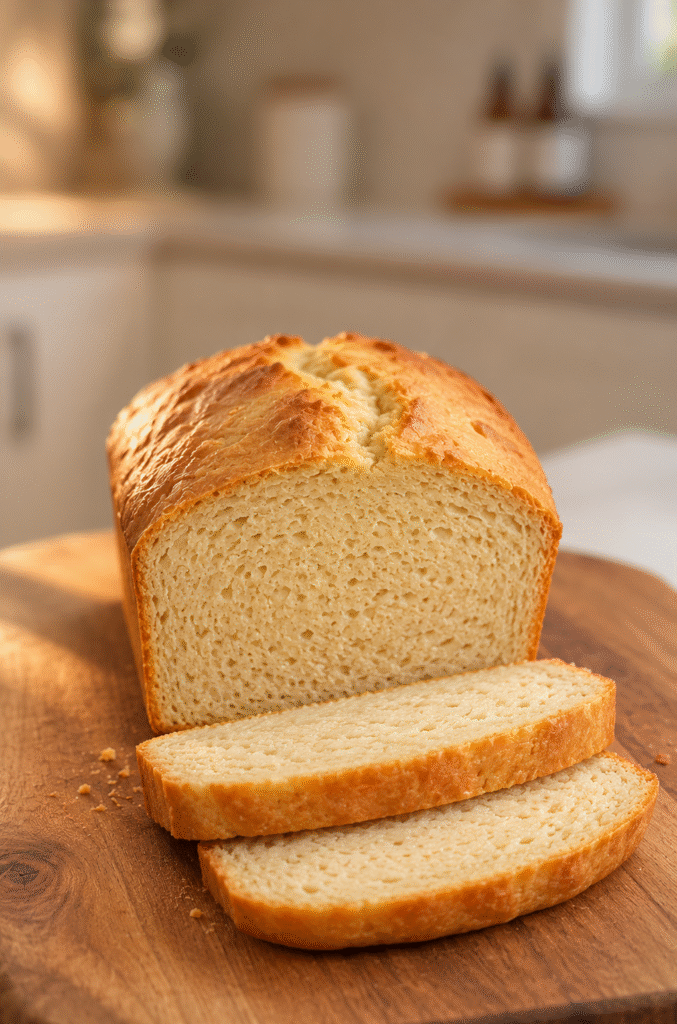
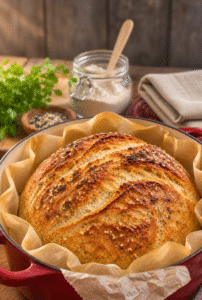
3-Ingredient White Bean Bread turns a can of beans, four eggs, and baking powder into a simple savory loaf. You don't need yeast, flour, or a mixer. Instead, a blender brings the batter together in minutes, and the oven handles the rest.
Expect a moist, compact loaf with a tender, slightly eggy texture. Because this recipe contains no flour or gluten, it won't develop the stretchy crumb, tall rise, or crisp crust of traditional sandwich bread. However, cooled slices make a satisfying base for avocado, cream cheese, or other savory toppings.
There's something appealing about a bread recipe that starts with an ordinary can from the pantry. On a busy morning, a short ingredient list makes homemade baking feel much more manageable. Rather than measuring several flours or waiting for dough to rise, you can rinse the beans, blend the batter, and clear the counter while the loaf bakes. Then, once it cools, you have something simple to slice for breakfast or lunch. This recipe fits that practical approach to cooking: familiar ingredients, a straightforward method, and plenty of room for whatever toppings you already have.
Allow about 10 minutes for preparation and 35-40 minutes for baking, plus cooling time. Oven performance and pan dimensions can change the baking time, so check the center before removing your loaf.
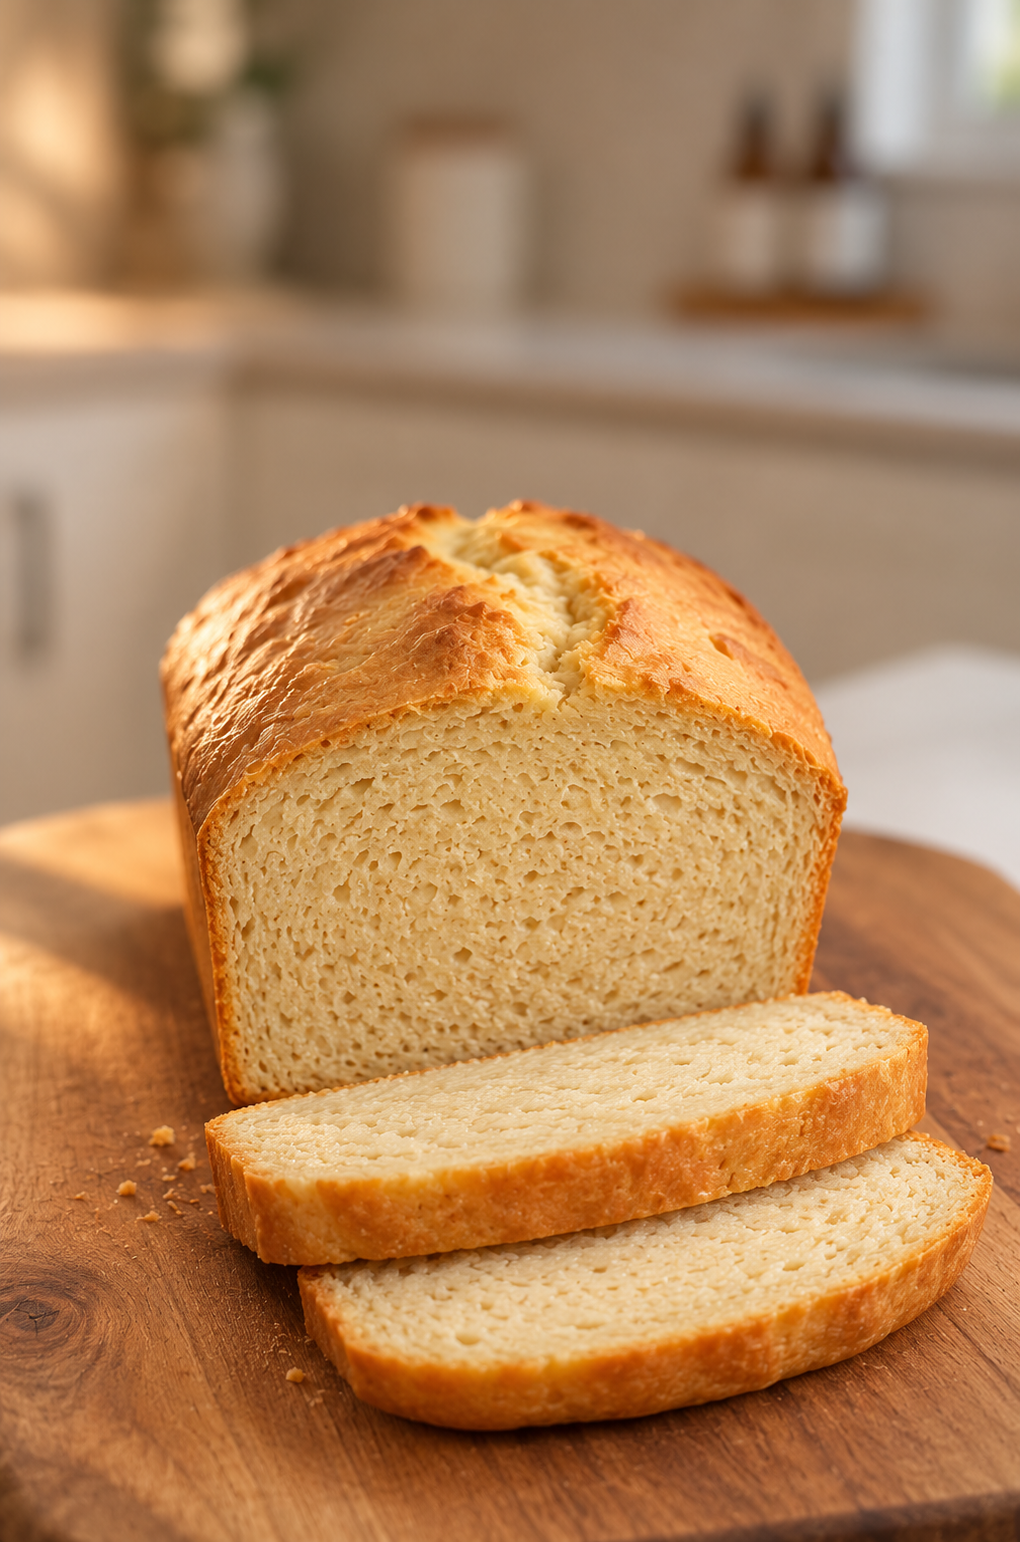
3-Ingredient White Bean Bread
Equipment
- Approximately 8 × 4-inch loaf pan
- Parchment Paper
- strainer
- Blender or food processor
- spatula
- Wire cooling rack
Ingredients
- 1 15-ounce can white beans, fully cooked, drained, rinsed, and patted dry
- 4 large eggs
- 2 teaspoons baking powder
- 0.25 teaspoon salt, optional
- 0.5 teaspoon dried thyme, rosemary, or Italian seasoning, optional
Instructions
- Preheat the oven to 350°F. Line an approximately 8 × 4-inch loaf pan with parchment paper, leaving an overhang on the long sides.
- Drain and rinse the white beans thoroughly. Pat them dry to remove excess surface moisture.
- Add the beans, eggs, and baking powder to a blender or food processor. Add the optional salt or dried herbs, if using.
- Blend until smooth and creamy. Scrape down the sides, then blend again until no visible bean pieces remain.
- Pour the batter into the prepared pan and smooth the top.
- Bake for 35-40 minutes, until lightly golden and set in the center. A toothpick should come out without wet batter. Continue baking in short increments if necessary.
- Let the loaf cool in the pan for 10 minutes. Then lift it onto a wire rack using the parchment.
- Cool completely before slicing. Serve plain, warm gently in a skillet, or add savory toppings.
Notes
Nutrition
What to Expect from White Bean Bread
A Tender, Compact Texture
White beans give this bread its body, while eggs help the batter set into a sliceable loaf. Meanwhile, baking powder adds some lift during baking. Together, these ingredients create a texture that falls somewhere between a dense savory quick bread and a firm egg bake.
That difference matters when you choose how to serve it. Traditional bread develops structure from flour, and wheat bread also benefits from gluten. This recipe relies on blended beans and eggs instead. Consequently, the crumb feels softer and more delicate, especially while warm.
The loaf may puff in the oven and settle as it cools. A little settling doesn't necessarily signal a problem. However, a deeply sunken center or wet interior suggests that the batter needed more baking time or contained too much moisture.
For the neatest slices, let the bread cool completely. Then use a sharp knife and a gentle sawing motion. Start with moderately thick slices, since very thin pieces may tear.
A Mild Base for Savory Toppings
White beans offer a mild, earthy flavor, although the eggs also contribute noticeably. Therefore, this loaf works especially well with savory toppings.
Try mashed avocado, sliced tomatoes, or a thin layer of cream cheese. Alternatively, serve a small slice alongside soup or a crisp salad. For breakfast, add sautéed mushrooms or a spoonful of cottage cheese.
The three basic ingredients create a fairly plain loaf. If you prefer more seasoning, add the optional salt or dried herbs. Rosemary, thyme, and Italian seasoning all complement the beans without requiring a different preparation method.
Keep your first batch simple so you can judge the base flavor and texture. Afterward, adjust the seasoning to suit your meals. Small changes make more sense than large additions, particularly because extra liquid or heavy mix-ins can affect how the loaf sets.
Choosing and Preparing the Ingredients
Use Fully Cooked, Well-Drained Beans
Choose one 15-ounce can of white beans. Cannellini, navy, or great northern beans can all work, although each variety may produce a slightly different texture.
The 15-ounce measurement refers to the whole can, including its liquid. After draining, you will typically have around 1½ cups of beans, with some variation among brands. Use the drained contents of one can rather than weighing out 15 ounces of drained beans.
First, empty the beans into a strainer. Next, rinse them thoroughly and let the excess water drain away. Finally, spread them over a clean kitchen towel or paper towels and pat them dry.
This step helps control the batter's moisture. Beans that still carry plenty of water can produce a wetter center and increase the baking time.
If you start with home-cooked beans, use approximately 1½ cups of fully cooked, drained white beans. They should feel tender enough to mash easily. Don't substitute dry beans or partially cooked beans, since this quick baking method requires beans that already feel completely tender.
Let Eggs and Baking Powder Provide Structure
Use four large eggs for the recipe as written. Because the eggs supply much of the loaf's structure, changing their size or number can noticeably affect the result.
Crack them into a separate bowl before adding them to the blender. That simple habit makes it easier to remove any shell fragments. It also lets you check each egg before combining everything.
Next, measure two level teaspoons of baking powder. Use baking powder rather than baking soda; the two ingredients perform differently and don't substitute directly here.
Fresh baking powder offers the best chance of a modest rise. Nevertheless, even fresh leavening won't turn this flourless batter into an airy wheat loaf.
For optional seasoning, add ¼ teaspoon salt or ½ teaspoon dried herbs. If your canned beans already taste salty, you may prefer to skip the extra salt. Also, choose a gluten-free baking powder if you need every ingredient to meet that requirement.
Blending and Baking the Loaf
Prepare the Pan and Blend Thoroughly
Heat the oven to 350°F before mixing the batter. Meanwhile, line a small loaf pan, approximately 8 × 4 inches, with parchment paper. Leave some parchment extending over the long sides so you can lift the bread out later.
Pan size affects the loaf's shape. A larger pan spreads the batter into a shallower layer, while a smaller, deeper pan may require additional baking time. Therefore, use the pan dimensions as a guide and watch the center carefully.
Add the prepared beans, eggs, and baking powder to a blender or food processor. Include any optional seasoning at this stage. Blend until the mixture looks smooth and creamy, then stop and scrape down the sides.
Check beneath the blade area and along the bowl's edges for whole beans. Next, blend again briefly until no obvious pieces remain. A smooth batter creates a more even crumb and avoids pockets of bean skins or unblended beans.
Pour the batter into the lined pan immediately. Then smooth the surface gently with a spatula.
Check the Center Before Cooling
Bake the loaf on the middle rack for 35-40 minutes, then assess its progress. The top should look lightly golden, and the center should hold its shape without a liquid wobble.
Insert a toothpick into the middle. Look for no wet batter, although a few moist crumbs may cling to the toothpick. If the center still looks wet, continue baking in short increments and check again.
If the surface darkens before the middle finishes, loosely cover the top with foil. This allows the center more time without excessive browning.
After baking, let the loaf rest in its pan for 10 minutes. Then use the parchment handles to transfer it carefully to a wire rack.
Cooling gives steam a chance to escape and helps the loaf firm up. For that reason, resist cutting immediately, even if the top looks ready. Warm slices can seem gummy or fall apart simply because the interior hasn't finished settling.
Allow at least an hour for cooling, and longer if the center still feels warm.
Serving Ideas and Better Results
Build Simple Meals Around the Slices
Start with a plain slice so you can get familiar with the loaf's flavor. Then choose toppings that complement its mild bean and egg base.
For a quick breakfast, spread a cooled slice with cream cheese and add cucumber. Alternatively, pair it with avocado, black pepper, and a squeeze of lemon.
At lunch, try an open-faced sandwich with shredded chicken or tuna salad. Open-faced servings place less pressure on the bread than a heavily filled sandwich, which helps protect the tender crumb.
You can also serve small slices beside tomato soup, vegetable stew, or a leafy salad. However, avoid soaking them in liquid for too long because the bread can soften quickly.
To warm a slice, use a lightly greased skillet over medium-low heat. Turn it gently after the underside develops some color. A toaster oven also offers an easy way to warm delicate slices while keeping them supported on a tray.
Troubleshoot Moisture, Flavor, and Slicing
If your loaf feels too wet, first consider how thoroughly you drained the beans. Next, check whether the center finished baking. Finally, make sure the loaf cooled fully before you judged its texture.
If it tastes strongly of eggs, that may reflect the recipe's ingredient balance rather than an error. Four eggs contribute substantially to a small loaf. Optional herbs and savory toppings can complement that flavor, but they won't remove it.
If slices crumble, cut them slightly thicker and support each piece with a spatula. Also, avoid treating the loaf like an elastic wheat bread. Its flourless structure behaves differently.
For later servings, let the bread cool, place it in a covered container, and refrigerate it promptly. Slice only what you need, or separate individual slices with parchment before freezing. Then thaw a portion in the refrigerator and warm it gently.
Keep notes on your pan, baking time, and bean brand. Those small details can help you repeat the texture you prefer.
Ingredients
- 1 can (15 ounces) white beans, fully cooked, drained, rinsed, and patted dry
- 4 large eggs
- 2 teaspoons baking powder
- Optional: ¼ teaspoon salt
- Optional: ½ teaspoon dried thyme, rosemary, or Italian seasoning
Yield: 1 small loaf, approximately 8 slices
Prep time: 10 minutes
Cook time: 35-40 minutes, plus additional time if needed
Cooling time: Approximately 1 hour
Total time: Approximately 1 hour 45 minutes to 1 hour 50 minutes, including cooling
Instructions
- Preheat the oven to 350°F. Line an approximately 8 × 4-inch loaf pan with parchment paper, leaving an overhang on the long sides.
- Drain and rinse the white beans thoroughly. Pat them dry to remove excess surface moisture.
- Add the beans, eggs, and baking powder to a blender or food processor. Add the optional salt or dried herbs, if using.
- Blend until smooth and creamy. Scrape down the sides, then blend again until no visible bean pieces remain.
- Pour the batter into the prepared pan and smooth the top.
- Bake for 35-40 minutes, until lightly golden and set in the center. A toothpick should come out without wet batter. Continue baking in short increments if necessary.
- Let the loaf cool in the pan for 10 minutes. Then lift it onto a wire rack using the parchment.
- Cool completely before slicing. Serve plain, warm gently in a skillet, or add your favorite savory toppings.
Frequently Asked Questions
Can I use cannellini beans instead of navy beans?
Yes. Cannellini, navy, and great northern beans all suit this recipe. However, their moisture levels and textures vary slightly. Drain and dry them thoroughly, and blend until completely smooth.
Will this taste and look like regular sandwich bread?
Expect a different result. This loaf contains no flour or gluten, so it has a compact, moist crumb and a noticeable egg component. It won't reproduce the airy interior or chewy texture of yeast bread. It works best as a small savory loaf, particularly for open-faced toppings.
Can I leave out the eggs?
This recipe relies on four eggs for structure. Leaving them out would require a different formulation rather than a simple substitution. Flax eggs and similar alternatives may not provide enough support for the bean batter.
Why did my loaf sink after baking?
Some settling can happen as the loaf cools. However, a large collapse may point to excess moisture or an underbaked center. Drain the beans carefully, check for wet batter before removing the pan, and avoid slicing while the bread still feels warm.
Can I freeze individual slices?
Yes. Cool the loaf completely, slice it, and place parchment between the pieces before freezing them in a suitable container. Thaw only the portion you need, then warm it in a skillet or toaster oven. Handle the slices gently because the crumb remains delicate.
Conclusion
3-Ingredient White Bean Bread offers a straightforward way to turn cooked beans, eggs, and baking powder into a small savory loaf. Thorough draining, smooth blending, and complete cooling give you the best chance of neat, tender slices.
Keep realistic expectations about its flourless texture, then enjoy it with toppings that suit its mild flavor. Whether you add avocado, cream cheese, or a spoonful of chicken salad, this simple loaf gives everyday pantry ingredients a useful place at the table.
Leave a Reply