
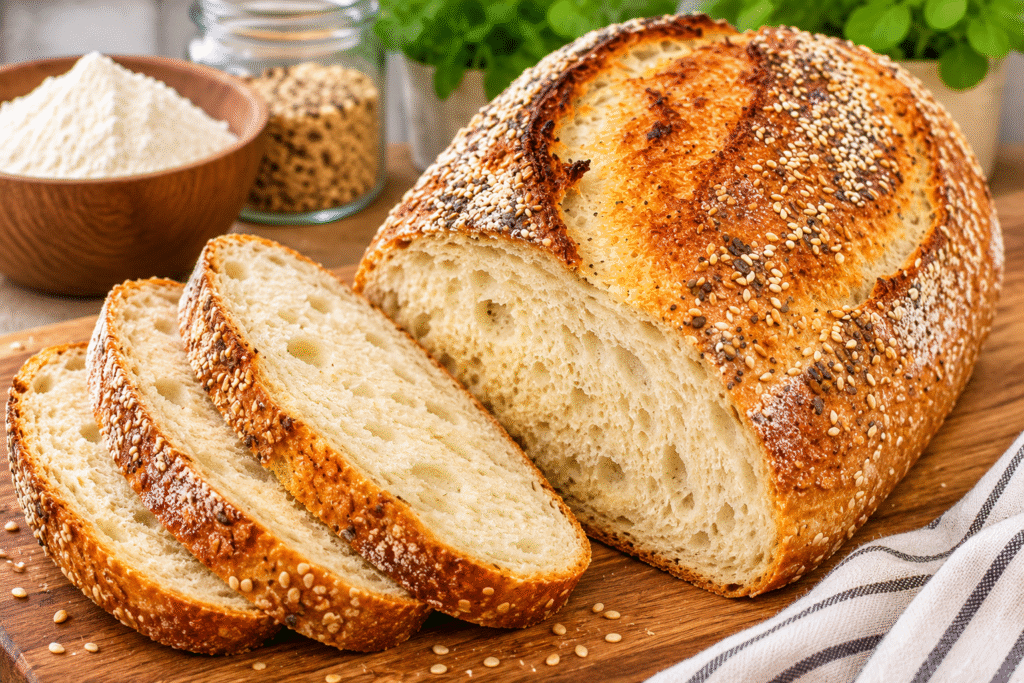
There’s something special about homemade bread fresh from the oven. The golden crust, the wonderful aroma filling the kitchen, and the soft, airy center make every slice worth enjoying. This Easy No-Knead Rustic Sandwich Bread brings all those comforting qualities together without requiring hours of kneading or complicated baking techniques.
With just a few basic ingredients and a little patience, you can make a beautiful rustic loaf at home. The secret is an overnight rise that allows the dough to develop flavor and structure naturally. Instead of kneading the dough by hand, you simply mix everything together, cover the bowl, and let time do most of the work.
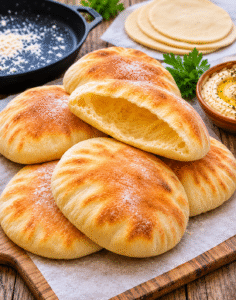
The result is a delicious loaf with a crisp golden crust, a chewy exterior, and a soft interior that is perfect for sandwiches, toast, and everyday meals.
Whether you’re an experienced home baker or someone trying homemade bread for the first time, this no-knead recipe is a wonderful place to start.
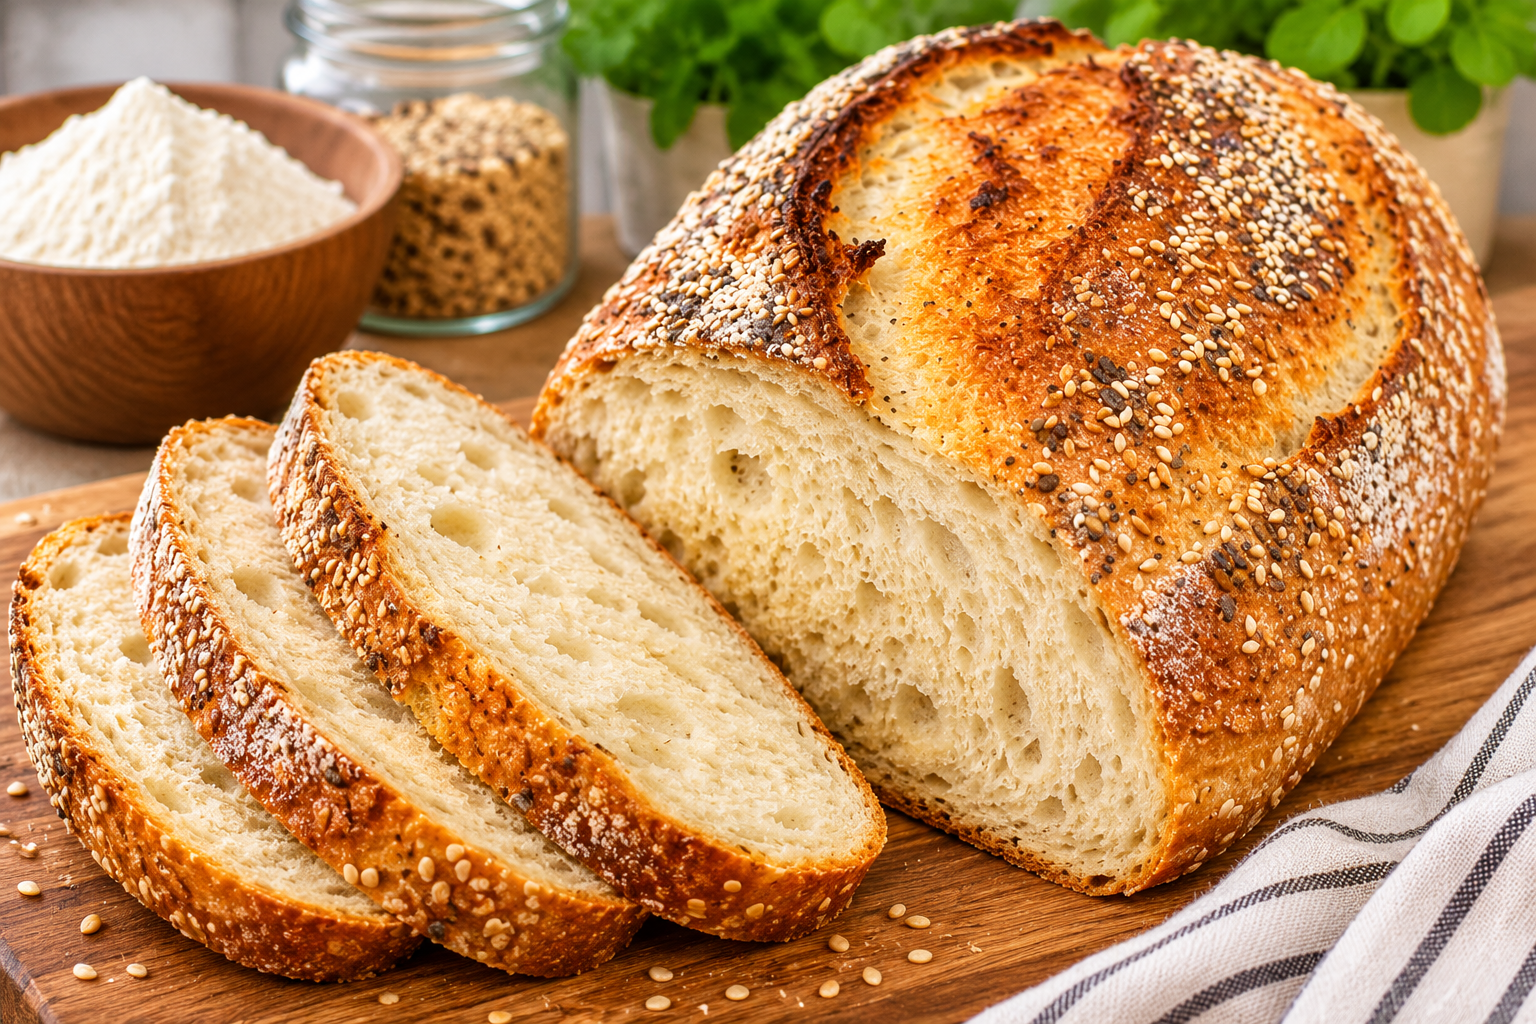
Easy No-Knead Rustic Sandwich Bread
Notes
Why You’ll Love This Easy No-Knead Rustic Bread
1. No Kneading Required
Traditional bread recipes often require extended kneading to develop gluten. This recipe takes a much easier approach.
You simply combine the flour, salt, yeast, and water until a sticky dough forms. There is no need for a stand mixer or complicated kneading techniques.
The long resting period allows the flour to absorb the water and the gluten network to develop naturally.
This makes the recipe especially convenient for busy home cooks.
2. A Beautiful Golden, Crispy Crust
One of the best features of rustic bread is its crust.
Baking the dough inside a preheated Dutch oven creates a hot, enclosed environment that traps steam. This helps the loaf expand during the initial stage of baking.
After removing the lid, the bread continues baking until the crust becomes deeply golden and crisp.
The contrast between the crunchy outside and soft inside makes every slice delicious.
3. Soft and Chewy Interior
Although the crust is crisp, the inside remains tender and chewy.
The relatively high hydration of the dough helps create a moist crumb with attractive air pockets.
This texture makes the bread particularly suitable for sandwiches and toast.
4. Simple Pantry Ingredients
You don’t need specialty ingredients to prepare this loaf.
Flour, salt, instant yeast, and water are the essentials.
Optional sesame seeds, poppy seeds, or mixed seeds add extra texture and give the loaf a beautiful bakery-style appearance.
5. Perfect for Everyday Meals
This rustic sandwich bread is incredibly versatile.
Enjoy it with butter for breakfast, use it for sandwiches at lunchtime, or toast it alongside soup for dinner.
You can also slice and freeze the loaf so homemade bread is available whenever you need it.
Ingredients You’ll Need
All-purpose flour or bread flour - 3½ cups (450 g)
Flour forms the structure of the bread. Bread flour generally produces a chewier loaf because of its higher protein content, while all-purpose flour works well for a softer texture.
Salt - 2 teaspoons
Salt enhances the flavor and helps regulate yeast activity.
Instant yeast - ½ teaspoon
A small amount of instant yeast is sufficient because the dough has a long fermentation period.
Warm water - 1½ cups (360 ml)
Water hydrates the flour and activates the yeast. Aim for approximately 100-110°F (38-43°C), rather than hot water.
Optional seeds
Sesame seeds, poppy seeds, or mixed seeds can be sprinkled over the loaf before baking.
They add texture, flavor, and a beautiful rustic appearance.
Helpful Equipment
- Large mixing bowl
- Measuring cups and kitchen scale
- Wooden spoon or spatula
- Plastic wrap or clean kitchen towel
- Parchment paper
- Dutch oven with oven-safe lid
- Cooling rack
- Sharp bread knife
A Dutch oven is especially useful because it traps steam during baking. If you don’t have one, you can use an oven-safe baking method with steam, although the crust may turn out slightly different.
How to Make Easy No-Knead Rustic Sandwich Bread
Step 1: Combine the Dry Ingredients
In a large mixing bowl, whisk together the flour, salt, and instant yeast.
Make sure the ingredients are evenly distributed.
This helps the yeast and salt disperse throughout the dough.
Step 2: Add the Warm Water
Pour the warm water into the dry ingredients.
Use a spatula or wooden spoon to stir until no large patches of dry flour remain.
The dough should look shaggy, sticky, and somewhat uneven.
Don’t worry if it doesn’t resemble traditional smooth bread dough.
That sticky consistency is normal for a high-hydration no-knead recipe.
Step 3: Let the Dough Rise Overnight
Cover the bowl with plastic wrap or a clean kitchen towel.
Leave it at room temperature for approximately 8-12 hours.
During this time, the yeast gradually produces gas, causing the dough to expand and develop bubbles.
When ready, the dough should look noticeably larger, airy, and bubbly.
The exact rising time depends on your room temperature. A warmer kitchen may shorten fermentation, while a cooler kitchen may require additional time.
Step 4: Prepare the Work Surface
Lightly flour a clean countertop or work surface.
The dough will be sticky, so use enough flour to prevent excessive sticking without incorporating too much extra flour into the mixture.
Gently transfer the dough onto the prepared surface.
Avoid pressing out all the air bubbles because they contribute to the bread’s light interior.
Step 5: Shape the Loaf
With lightly floured hands, gently fold the edges of the dough toward the center.
Turn the dough over and shape it into a round or oval loaf.
The goal is to create a reasonably smooth outer surface without kneading.
Place the shaped loaf onto a sheet of parchment paper.
Step 6: Add the Seeds
If desired, lightly moisten the surface of the dough with water.
Sprinkle sesame seeds, poppy seeds, or your preferred seed mixture over the top.
Gently press the seeds so they adhere.
You can also leave the loaf plain for a simpler rustic appearance.
Step 7: Allow a Short Second Rest
Cover the shaped loaf loosely and let it rest for approximately 30-60 minutes.
During this time, the dough relaxes and becomes slightly puffier.
Meanwhile, preheat the oven to 450°F (230°C).
Place your Dutch oven and its lid inside the oven while it heats.
A properly preheated Dutch oven helps the bread develop a beautiful crust.
Step 8: Transfer the Dough to the Dutch Oven
Carefully remove the hot Dutch oven from the oven.
Remember that the pot and lid will be extremely hot.
Using the parchment paper as a sling, carefully lower the dough into the Dutch oven.
Avoid touching the hot sides of the pot.
Cover with the lid.
Step 9: Bake Covered
Return the Dutch oven to the oven.
Bake covered for approximately 30 minutes.
The enclosed environment traps moisture released from the dough, creating steam that supports oven spring and crust development.
Avoid opening the lid unnecessarily during this stage.
Step 10: Remove the Lid and Finish Baking
After 30 minutes, carefully remove the lid.
Continue baking uncovered for another 10-15 minutes, until the crust becomes deeply golden brown.
If you prefer a lighter crust, check toward the earlier end of the baking window.
For a darker, crunchier crust, allow a little additional baking time while watching carefully.
Step 11: Cool Completely
Remove the bread from the Dutch oven and transfer it to a wire cooling rack.
Allow it to cool for at least one hour before slicing.
This resting period is important.
The inside of freshly baked bread continues to set as it cools. Cutting too early can compress the crumb and make the bread appear gummy.
Once cooled, slice with a sharp serrated bread knife.
Tips for the Best No-Knead Bread
Measure flour accurately. Weighing flour is more reliable than measuring by volume because flour can become compacted inside measuring cups.
Use the correct water temperature. Very hot water can damage yeast, while cold water may slow fermentation.
Don’t worry about sticky dough. This recipe is designed to have a wetter consistency than traditional kneaded bread.
Allow enough rising time. The overnight fermentation is essential for developing flavor and texture.
Avoid adding too much flour while shaping. Excess flour can make the finished loaf denser.
Preheat the Dutch oven thoroughly. A hot baking vessel helps create a better crust.
Allow the bread to cool. Resist cutting the loaf immediately after baking.
How to Serve Rustic Sandwich Bread
This bread works beautifully in both sweet and savory meals.
For Breakfast
Toast a thick slice and spread with butter, jam, honey, or your favorite nut butter.
The crisp crust and soft center create a lovely contrast.
For Sandwiches
Use the bread for classic sandwiches with cheese, lettuce, tomatoes, eggs, roasted chicken, or your favorite fillings.
Its sturdy crumb makes it suitable for holding sandwich ingredients.
Alongside Soups
Serve warm slices with tomato soup, creamy vegetable soup, or hearty chicken soup.
The bread is also delicious for dipping into olive oil or soup.
For Toasted Garlic Bread
Brush slices lightly with olive oil or softened garlic butter.
Toast until golden and sprinkle with chopped parsley.
For Open-Faced Sandwiches
Top thick slices with avocado, eggs, roasted vegetables, or cheese for an easy lunch.
Storage and Freezing Instructions
Allow the bread to cool completely before storing.
For short-term storage, place it in a bread bag or bread box at room temperature. It is best enjoyed within approximately 2-3 days.
Avoid refrigerating ordinary homemade bread unless necessary, as refrigeration can accelerate staling.
For longer storage, slice the loaf and freeze the slices in a freezer-safe bag.
Frozen slices can be toasted directly from the freezer or thawed before use.
For best quality, use within approximately two months.
Frequently Asked Questions
Can I use all-purpose flour instead of bread flour?
Yes. Both all-purpose flour and bread flour work for this recipe.
Bread flour generally creates a chewier texture, while all-purpose flour produces a slightly softer loaf.
Why is my dough so sticky?
The dough has relatively high hydration, which is normal for no-knead bread.
Avoid adding large amounts of flour. Use lightly floured hands and a work surface when shaping.
Can I let the dough rise longer than overnight?
Depending on room temperature, the dough may need a longer or shorter fermentation period.
However, excessive fermentation can cause the dough to overproof and lose structure.
Watch the dough rather than relying only on the clock.
Can I make this bread without a Dutch oven?
Yes. You can bake the loaf on a preheated baking sheet or in an oven-safe covered baking vessel.
To help create steam, place a separate oven-safe pan with hot water in the oven. Use caution when handling steam and hot water.
The crust may differ from a Dutch oven loaf.
Can I add seeds inside the dough?
Yes. You can fold a small amount of seeds into the dough before the overnight rise.
Keep the quantity moderate so the seeds do not interfere with the dough structure.
Why should I wait before slicing?
Cooling allows the interior crumb to finish setting.
Slicing too early can cause the bread to compress or become gummy.
Can I freeze this bread?
Absolutely. Slice the cooled loaf and freeze individual portions in an airtight freezer-safe bag.
This makes it easy to take out only the slices you need.
How do I get a darker crust?
Bake uncovered for a few additional minutes, checking frequently.
The exact time depends on your oven and how deeply browned you prefer the crust.
Final Thoughts
This Easy No-Knead Rustic Sandwich Bread proves that delicious homemade bread doesn’t have to be complicated.
With just a few pantry staples, an overnight rise, and a hot Dutch oven, you can create a beautiful loaf with a crisp golden crust and soft, chewy interior.
It’s perfect for sandwiches, toast, soups, and everyday meals.
Once you experience the simplicity of no-knead bread, you may find yourself making it again and again.
Enjoy every homemade slice!

Leave a Reply