Fall is just around the corner, and what better way to celebrate the season than by crafting adorable pumpkin magnets? These charming little decorations not only elevate your home’s autumnal atmosphere but also engage the whole family in a fun and creative activity. Whether you’re a seasoned crafter or a beginner, this DIY project is a delightful way to express your love for the season. With minimal materials and easy-to-follow steps, you’ll have a collection of cute pumpkin magnets that are perfect for adorning your fridge, office, or any magnetic surface. Gather your supplies, unleash your creativity, and let’s make these festive little pumpkins!
Why You’ll Love This Pumpkin Magnets
- Easy and Fun: Perfect for crafters of all ages, making it a great family activity.
- Customize to Your Taste: Variations allow you to personalize each pumpkin to match your home decor.
- Seasonal Charm: Instantly brighten up your space with fall-inspired décor.
- Great Gift Idea: Handmade gifts add a personal touch that friends and family will adore.
- Low Cost: Made with inexpensive materials that won’t break the bank.
Materials
- Air-dry clay or polymer clay
- Orange acrylic paint
- Green paint (or green clay)
- Small round magnets
- Craft glue
- Paintbrush
- Rolling pin or old bottle
- Tweezers or small tool for detailing (optional)
- Optional: Glitter or embellishments for added charm
Step-by-Step Instructions
1. Prepare Your Clay
- Start by taking a small amount of orange clay and kneading it until it’s soft and pliable.
- If you’re using air-dry clay, you might want to work quickly to prevent it from drying out.
2. Shape Your Pumpkins
- Roll the clay into a ball and gently flatten it to create a pumpkin shape.
- Use your fingers or a tool to create ridges around the sides for added texture.
3. Add a Stem
- Take a small piece of green clay or use green paint to form a stem and attach it to the top of your pumpkin.
- Ensure it’s securely attached and shaped to your liking.
4. Let Them Dry
- If using air-dry clay, place your pumpkins on a flat surface and let them dry completely.
- For polymer clay, follow the manufacturer’s instructions for baking in an oven.
5. Paint
- Once dry, paint your pumpkins in the desired shades and add details like shadows or highlights if desired.
- Let the paint dry before proceeding.
6. Attach Magnets
- Use craft glue to attach small round magnets to the back of each pumpkin.
- Let the glue set according to the manufacturer’s instructions.
Tips & Variations
- Color Variations: Experiment with different shades of orange, yellow, or even a whimsical blue pumpkin.
- Add Glitter: For a festive touch, sprinkle some glitter on the wet paint before it dries.
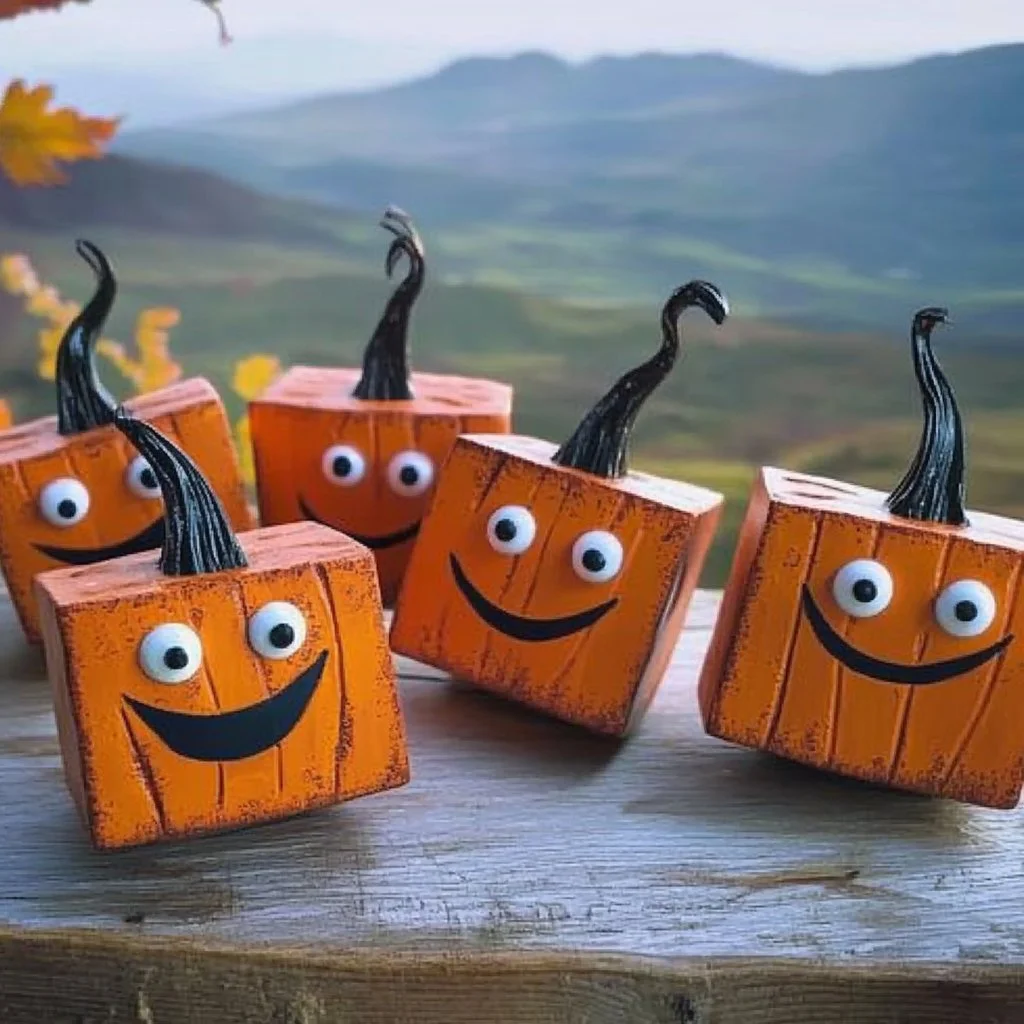
- Face Details: Consider painting cute faces on your pumpkins for a more playful look.
- Size Matters: Adjust the size of the clay balls to create a variety of sizes for visuals interest.
Frequently Asked Questions
Q1: Can I use other colors besides orange?
A1: Absolutely! Feel free to experiment with other colors to create unique pumpkins for your fridge.
Q2: How long does it take for the pumpkins to dry?
A2: Air-dry clay typically takes 24 hours to fully dry, while polymer clay will depend on baking time, usually around 15-30 minutes.
Q3: What if I don’t have magnets?
A3: You can use them as decorative items without magnets, or attach a clip instead.
Q4: Can children help with this project?
A4: Yes, this is a kid-friendly project! Just supervise younger children when crafting.
Serving Suggestions or Pairings
Pair your pumpkin magnets with a cozy fall atmosphere by enjoying a warm spiced apple cider or a pumpkin latte. Set them up alongside your seasonal treats like pumpkin pie or baked goods for an inviting display!
Final Thoughts
Creating pumpkin magnets is a delightful way to welcome the fall season into your home. Not only do they add a festive flair, but the process also fosters creativity and family bonding. Share your unique designs or variations of the pumpkin magnets in the comments below, and let’s celebrate the joy of crafting together!

Pumpkin Magnets
Ingredients
Materials
- 1 pack Air-dry clay or polymer clay
- 1 bottle Orange acrylic paint
- 1 bottle Green paint (or green clay)
- 10 pieces Small round magnets
- 1 bottle Craft glue
- 1 piece Paintbrush
- 1 piece Rolling pin or old bottle
- 1 piece Tweezers or small tool for detailing (optional)
- to taste Glitter or embellishments for added charm Optional
Instructions
Preparation
- Start by taking a small amount of orange clay and kneading it until it's soft and pliable.
- If you’re using air-dry clay, you might want to work quickly to prevent it from drying out.
Shaping
- Roll the clay into a ball and gently flatten it to create a pumpkin shape.
- Use your fingers or a tool to create ridges around the sides for added texture.
Adding the Stem
- Take a small piece of green clay or use green paint to form a stem and attach it to the top of your pumpkin.
- Ensure it’s securely attached and shaped to your liking.
Drying
- If using air-dry clay, place your pumpkins on a flat surface and let them dry completely.
- For polymer clay, follow the manufacturer’s instructions for baking in an oven.
Painting
- Once dry, paint your pumpkins in the desired shades and add details like shadows or highlights if desired.
- Let the paint dry before proceeding.
Attaching Magnets
- Use craft glue to attach small round magnets to the back of each pumpkin.
- Let the glue set according to the manufacturer’s instructions.


Leave a Reply