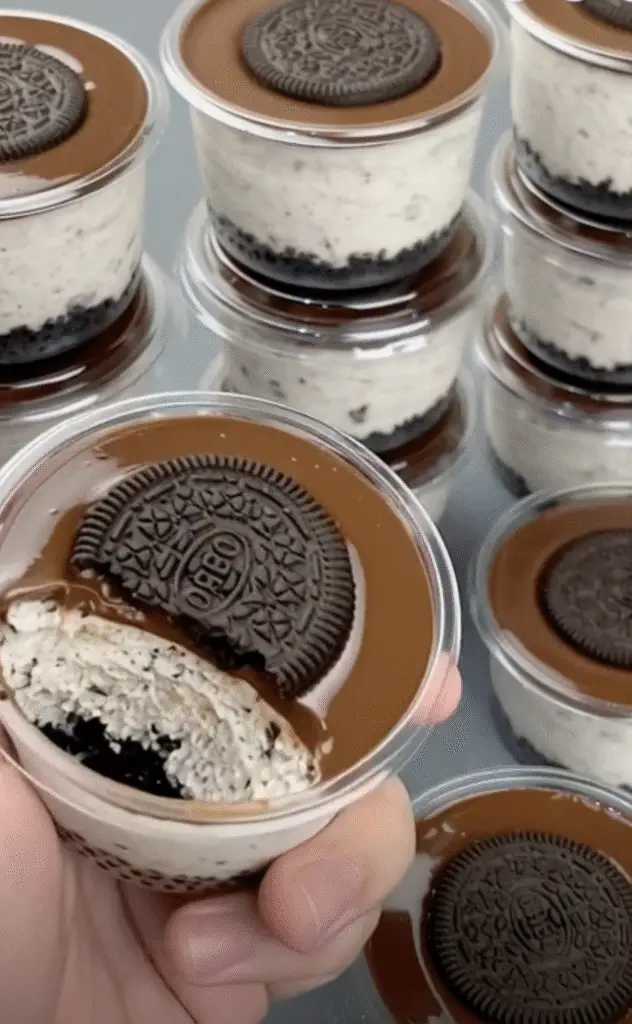
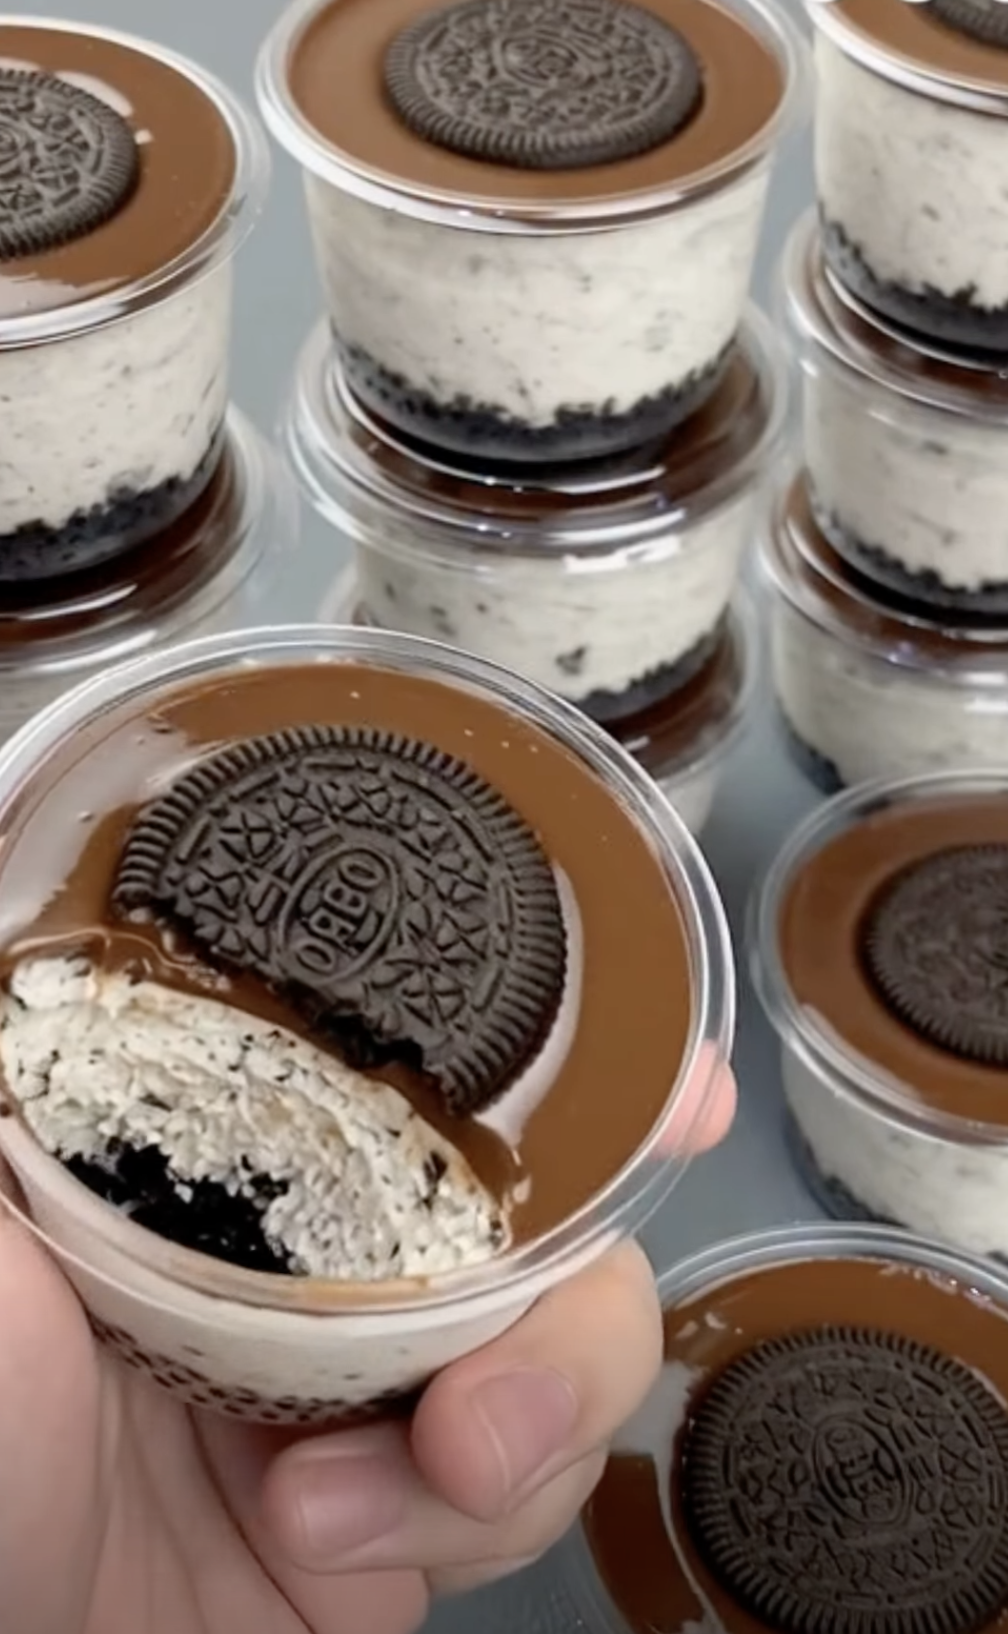
No Bake Oreo Cheesecake Cups are the kind of dessert that feels indulgent yet effortless. With layers of crushed cookies, creamy cheesecake filling, and a smooth chocolate topping, this treat delivers big flavor without turning on the oven. It works perfectly for busy days, last-minute guests, or anytime you want something sweet and satisfying with minimal effort.
Because No Bake Oreo Cheesecake Cups rely on simple steps and familiar ingredients, they feel approachable even for beginners. At the same time, the finished dessert looks polished and impressive. Served in individual cups or jars, they feel special without extra work. Once chilled, each spoonful gives you crunch, creaminess, and rich chocolate in one bite.
I first made a version of these cups during a summer afternoon when the kitchen felt too warm for baking. I wanted dessert but refused to turn on the oven. I crushed Oreos, whipped cream, and layered everything into small glasses. After a few hours in the fridge, the result surprised everyone. They disappeared faster than any baked cheesecake I had made before. Since then, these cups have become my go-to dessert for gatherings, holidays, and casual cravings alike.
Why No Bake Oreo Cheesecake Cups Always Work
A Dessert Built on Simple Layers
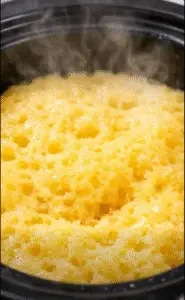
No Bake Oreo Cheesecake Cups succeed because each layer plays a clear role. The Oreo crust adds crunch and structure. The cheesecake layer brings smoothness and richness. The chocolate topping finishes everything with a glossy, slightly bitter contrast that balances the sweetness.
Because the layers stay distinct, every bite feels intentional. You do not need advanced skills to achieve this result. As long as you press the crust firmly and fold the filling gently, the texture stays light and creamy. That reliability makes this recipe one you can trust.
In addition, the individual cups make serving easy. There is no slicing, plating, or worrying about cracks. Each portion looks neat and inviting, which helps when serving guests.
No Oven, No Stress
One of the biggest advantages of No Bake Oreo Cheesecake Cups is convenience. Since there is no baking involved, the recipe eliminates common cheesecake worries. You do not deal with water baths, overbaking, or cooling cracks. Instead, chilling does all the work.
Because of this, the dessert fits well into busy schedules. You can prepare it ahead of time and let it set while you focus on other tasks. That flexibility makes it ideal for parties, potlucks, and family dinners.
Ingredients That Create the Perfect Balance
The Power of Oreos
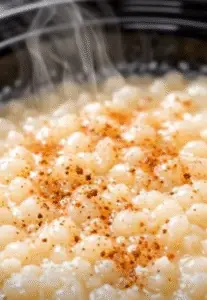
Oreos serve double duty in this recipe. Crushed whole cookies form the crust, while extra crumbs mix into the filling. Because the filling stays intact, the flavor spreads evenly throughout the dessert.
Including the cream filling in the crust helps bind the crumbs without extra sugar. When combined with melted butter, the mixture presses easily into cups and firms up nicely in the fridge.
Using Oreo crumbs in the cheesecake layer also adds subtle texture. Instead of a plain cream cheese base, you get tiny bits of cookie in every spoonful.
Creamy Elements That Keep It Light
Whipping cream, cream cheese, and all-purpose cream create the signature cheesecake texture. Whipped cream adds lightness, while cream cheese provides structure and tang. The all-purpose cream bridges the two, making the filling smooth and rich without feeling heavy.
Because the whipped cream gets folded in gently, air stays trapped in the mixture. This step matters. It ensures the filling remains fluffy rather than dense. As a result, the cheesecake layer melts in your mouth.
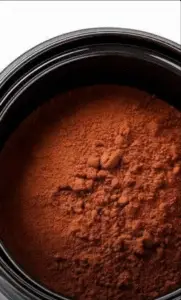
Chocolate for the Final Touch
The melted dark chocolate topping adds contrast. Its slight bitterness balances the sweetness of the Oreo layers. When chilled, it firms into a thin shell that cracks gently under a spoon.
You can adjust this layer easily. Dark chocolate offers depth, while milk or white chocolate creates a sweeter finish. Regardless of choice, the topping completes the dessert visually and flavor-wise.
Equipment
- mixing bowls
- electric mixer
- spatula
- serving cups or jars
Ingredients
- 250 g Oreo cookies, crushed
- 1/3 cup butter, melted
- 500 ml whipping cream
- 450 g cream cheese, softened
- 1/2 cup Oreo crumbs
- 250 ml all-purpose cream
- 180 ml dark chocolate, melted
Instructions
- Mix crushed Oreo cookies with melted butter and press into cups to form the crust.
- Whip the whipping cream until stiff peaks form and refrigerate.
- Beat cream cheese until smooth, then mix in all-purpose cream.
- Gently fold whipped cream and Oreo crumbs into the cream cheese mixture.
- Spoon cheesecake filling over the crust, then top with melted chocolate.
- Chill for at least 4 hours or overnight before serving.
Notes
Nutrition
Step-by-Step Guide for Foolproof Results
Preparing the Oreo Crust
Start by crushing the Oreo cookies until they resemble fine crumbs. A food processor works best, but a rolling pin and sealed bag also do the job. Once crushed, mix the crumbs with melted butter until the texture feels like damp sand.
Spoon the mixture into cups or jars and press it down firmly. This step ensures the crust holds together once chilled. After pressing, place the cups in the fridge while you prepare the filling.
Whipping and Mixing the Filling
In a chilled bowl, whip the whipping cream until stiff peaks form. This provides the light structure needed for the filling. Set it aside in the fridge to keep it cold.
Next, beat the softened cream cheese until smooth. Add the all-purpose cream and mix until fully combined. At this stage, the mixture should look silky and lump-free.
Gently fold the whipped cream into the cream cheese mixture. Use a spatula and light motions to avoid deflating the cream. Finally, fold in the Oreo crumbs until evenly distributed.
Assembling the Cups
Remove the prepared cups from the fridge. Spoon or pipe the cheesecake filling over the crust layer. Smooth the tops gently with the back of a spoon.
Once assembled, pour a thin layer of melted chocolate over each cup. Tap the cups lightly to help the chocolate spread evenly. If desired, sprinkle extra Oreo crumbs or add mini cookies for decoration.
Chilling for the Best Texture
Place the cups back into the refrigerator and chill for at least four hours. Overnight chilling delivers the best texture and flavor. As the cups set, the layers firm up while staying creamy.
Serve the dessert cold for the most satisfying bite.
Creative Variations to Try
Flavor Swaps and Add-Ins
No Bake Oreo Cheesecake Cups adapt easily to different tastes. You can swap dark chocolate for milk or white chocolate to change the sweetness level. Adding a drizzle of caramel or peanut butter between layers also works well.
For a lighter finish, top the cups with a dollop of whipped cream just before serving. Fresh berries add freshness and color, especially for summer gatherings.
Perfect for Parties and Events
Mini cups make excellent party desserts. Because each portion is individual, guests can grab one without utensils or plates. This setup reduces mess and makes serving smooth.
You can also prepare these cups a day in advance. They store well in the fridge, which makes party planning easier.
Frequently Asked Questions
Can I make No Bake Oreo Cheesecake Cups ahead of time?
Yes. You can prepare them up to 24 hours in advance and keep them refrigerated until serving.
Do I need gelatin for this recipe?
No. The combination of cream cheese and whipped cream sets firmly once chilled.
Can I use reduced-fat cream cheese?
Full-fat cream cheese works best for texture. Reduced-fat versions may result in a softer filling.
How long do these cups last in the fridge?
They stay fresh for up to three days when covered and refrigerated.
Can I freeze them?
Yes. Freeze without the chocolate topping, then thaw in the fridge and add chocolate before serving.
Conclusion
No Bake Oreo Cheesecake Cups deliver everything you want in a dessert: rich flavor, creamy texture, and easy preparation. With no oven required and simple layering, they fit effortlessly into any schedule. Whether you serve them at a party or enjoy one straight from the fridge, they feel special every time.
Once you make them, these cups quickly earn a permanent place in your dessert rotation. They prove that impressive desserts do not need complicated steps or long baking times.
Leave a Reply