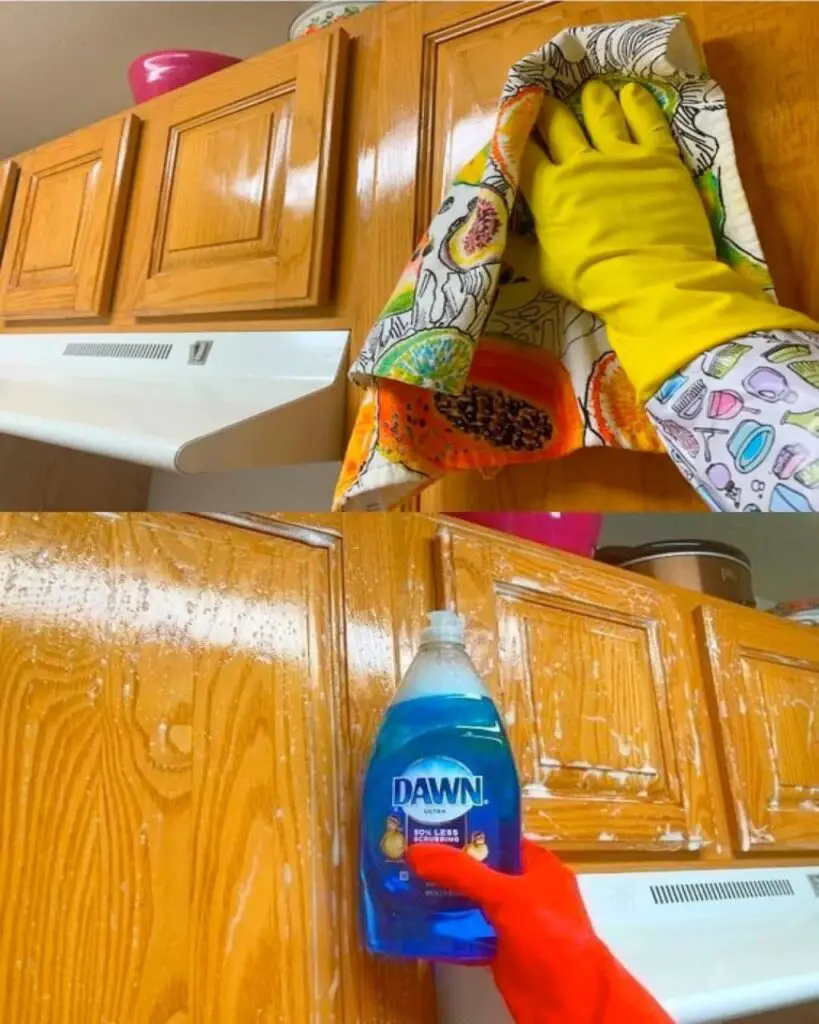
First, thank you so much for stopping by here. I know cleaning the kitchen isn’t always the most glamorous of topics, but it’s real life—and keeping those cabinets sparkling can completely transform the look of your space. If you’ve ever run your hand across a cabinet only to feel that sticky layer of grease (ugh, right?), then this post is for you. I promise, with just a few simple ingredients, you’ll have cabinets that look refreshed and polished again!

Why Kitchen Cabinets Get So Grimy
Cabinets are like silent warriors in our kitchens. They’re always there, taking the hit from steam, grease splatters, smoke, and even the occasional spill from messy fingers. Over time, this builds up into a stubborn film that dulls their shine. The good news? You don’t need expensive cleaners or harsh chemicals to bring them back to life—just a little baking soda, oil, and elbow grease.
Why You’ll Love This Method
- All-natural – No harsh chemicals, safe for kids and pets.
- Budget-friendly – You probably already have these ingredients in your pantry.
- Quick results – Immediate shine and smooth finish after cleaning.
- Restorative – Coconut or olive oil doesn’t just clean, it conditions wood too.
What You’ll Need
- Baking soda – A gentle abrasive that lifts grease and grime.
- Coconut oil (or olive oil) – Helps loosen sticky residue and leaves wood nourished.
- Small bowl – To mix your cleaning paste.
- Old toothbrush – Perfect for scrubbing corners, grooves, and trim.
- Soft sponge or cleaning cloth – For applying the paste.
- Damp microfiber towel – To wipe away residue and polish.
Step-by-Step Cleaning Guide
- Mix your paste: In a small bowl, combine 1 part baking soda with 1 part coconut oil until it forms a spreadable paste.
- Apply to cabinets: Dip your sponge or cloth into the paste and gently rub it onto the grimy areas. For tough spots or detailed trim, use your toothbrush.
- Scrub gently: Let the mild abrasiveness of the baking soda do the work—no need for heavy scrubbing.
- Wipe down: Use a damp microfiber towel to remove residue and polish the surface.
- Buff for shine: If your cabinets are wooden, buff lightly with a dry cloth afterward for a beautiful sheen.
Pro Tips for Best Results
- Work in small sections so the paste doesn’t dry before you wipe it off.
- For extra stubborn grease, let the paste sit for 5–10 minutes before scrubbing.
- Always test on a small, hidden area first—especially if your cabinets have a painted or delicate finish.
- Add a few drops of lemon essential oil to your paste for a fresh scent and extra degreasing power.
Storage & Maintenance
- No need to store the paste—just make it fresh each time.
- For maintenance, wipe cabinets weekly with a damp microfiber cloth to prevent buildup.
- Do a deep clean every 2–3 months, or more often if you cook frequently with oils.
FAQs
Q: Will this method work on painted cabinets?
A: Yes, but always spot-test first to make sure the paint finish isn’t too delicate.
Q: Can I substitute another oil for coconut oil?
A: Absolutely—olive oil works just as well, though it has a stronger scent.
Q: Does this remove stains too?
A: It removes surface grime and grease. For deep stains, you may need a specialty wood cleaner.
Conclusion
Cleaning kitchen cabinets might not be the highlight of your week, but wow—the difference is so worth it! This simple baking soda and oil method makes cabinets look refreshed, smell fresh, and even feel smoother to the touch. Once you see that shine come back, you’ll wonder why you didn’t do it sooner.
If you enjoyed this, check out more of my favorite cleaning and kitchen tips:
- How to Keep Strawberries Fresh Longer
- The Hidden Purpose of the Hole in Your Pot Handle
- Effective Home Remedy for Mosquito and Cockroach Control
And if you try this method, don’t forget to share before-and-after photos on Pinterest—I’d love to see your sparkling cabinets!


Leave a Reply