
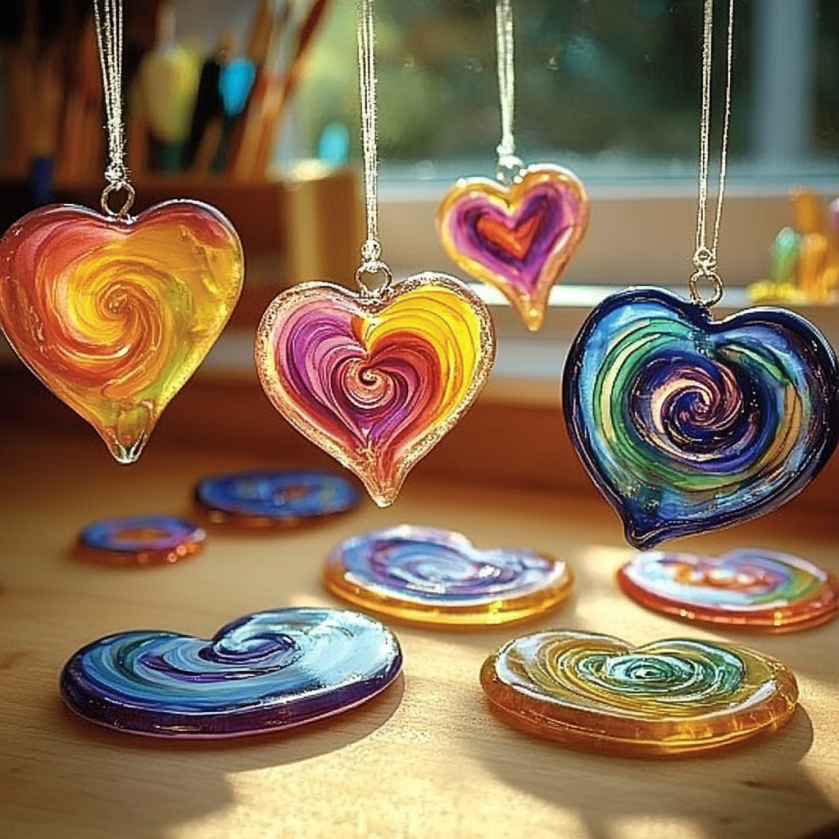
Creating glue suncatchers is a delightful and artistic DIY project that blends creativity with simple materials. Perfect for kids and adults alike, this craft allows you to make beautiful, colorful decorations that can brighten up your windows and any space in your home. The process involves using glue and vibrant pigments, making it not only an engaging activity but also a captivating way to learn about light and color. As sunlight streams through your suncatchers, you can enjoy a spectrum of colors dancing across your walls, adding a touch of warmth and cheer to your day. Gather your materials, unleash your imagination, and let’s craft some gorgeous suncatchers that will showcase your unique style!
Why You’ll Love This Glue Suncatchers
- Easy to Make: Simple materials and minimal steps ensure that anyone can participate, regardless of crafting skills.
- Customizable: From colors to shapes, you can express your creativity and style however you wish.
- Sensory Experience: Engaging with glue and colors is not only fun but also stimulates the senses, particularly for children.
- Educational: A wonderful opportunity for kids to learn about colors, light, and the science of how sunlight interacts with objects.
- Community Crafting: Ideal for group activities, parties, or family bonding time, encouraging collaboration and creativity.
Materials
- Clear school glue (or any washable glue)
- Tissue paper or colorful construction paper
- Scissors
- Wax paper or parchment paper
- A brush or sponge for application
- Optional: Glitter or beads for added sparkle
Step-by-Step Instructions
Prepare Your Workspace
- Lay down wax paper or parchment paper on a flat surface to protect it from glue spills.
- Gather all your materials within easy reach.
Cut the Tissue Paper
- Use scissors to cut the tissue or construction paper into small pieces or fun shapes.
- Consider using different colors to create a vibrant design.
Mix the Glue
- Pour a generous amount of clear glue into a bowl.
- If desired, mix in some water to make the glue easier to spread.
Create Your Design
- Using a brush or sponge, apply a thin layer of glue to the wax paper.
- Place your cut paper pieces onto the glue, arranging them into your desired design.
- Once satisfied, cover with another layer of glue on top of the paper.
Let It Dry
- Allow the suncatcher to dry completely. This may take a few hours or overnight depending on the thickness of the glue layer.
Trim and Hang
- Carefully peel the suncatcher from the wax paper once dry.
- Trim the edges if necessary and use tape or string to hang it in your window.
Tips & Variations
- Color Mixing: Experiment with overlapping colors on your suncatcher for beautiful blended hues.
- Shape Variation: Use cookie cutters to outline shapes on the wax paper before filling them in.
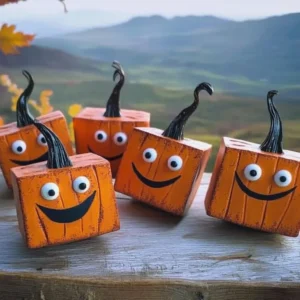
- Seasonal Themes: Change colors and shapes to match holidays or seasons (e.g., pastels for spring, oranges and blacks for Halloween).

Frequently Asked Questions
Q1: Can I use other types of glue?
A: Yes, while clear school glue works best, you can also use white glue or even craft glue. Just ensure it dries clear.
Q2: How do I remove dried glue from my workspace?
A: If glue spills on surfaces, it can usually be removed with warm soapy water or a damp cloth. For hardened glue, gently scrape it off with a spatula.
Q3: What if I want to hang them outside?
A: If you plan to display outside, consider using weatherproof glue or sealant after the suncatcher dries to protect against the elements.
Q4: Can I add embellishments like beads or glitter?
A: Absolutely! Adding beads or glitter can enhance your suncatcher’s design, just make sure they are securely embedded in the glue.
Serving Suggestions or Pairings
While enjoying your crafting session, pair it with a refreshing drink like lemonade or iced tea. For a fun twist, serve alongside homemade cookies or snacks as you create!
Final Thoughts
Making glue suncatchers is a joyful, creative endeavor that brings color and life into your home. It’s an activity that allows for personal expression and can be enjoyed alone or in a group. Don’t forget to share your own versions or any unique twists you’ve added to the process in the comments below! We’d love to see your colorful creations!

Glue Suncatchers
Ingredients
Materials for Suncatchers
- 1 bottle Clear school glue (or any washable glue)
- 1 sheets Tissue paper or colorful construction paper
- 1 pair Scissors For cutting paper
- 1 sheet Wax paper or parchment paper To protect your workspace
- 1 pc A brush or sponge For applying glue
- optional Glitter or beads For added sparkle
Instructions
Preparation
- Lay down wax paper or parchment paper on a flat surface to protect it from glue spills.
- Gather all your materials within easy reach.
Creating the Suncatcher
- Use scissors to cut the tissue or construction paper into small pieces or fun shapes, using different colors for a vibrant design.
- Pour a generous amount of clear glue into a bowl, mixing in some water if desired for easier spreading.
- Using a brush or sponge, apply a thin layer of glue to the wax paper and place your cut paper pieces onto the glue, arranging them into your desired design.
- Once satisfied, cover with another layer of glue on top of the paper.
Drying and Finishing
- Allow the suncatcher to dry completely, which may take a few hours or overnight depending on the thickness of the glue layer.
- Once dry, carefully peel the suncatcher from the wax paper and trim the edges if necessary.
- Use tape or string to hang it in your window.

Leave a Reply