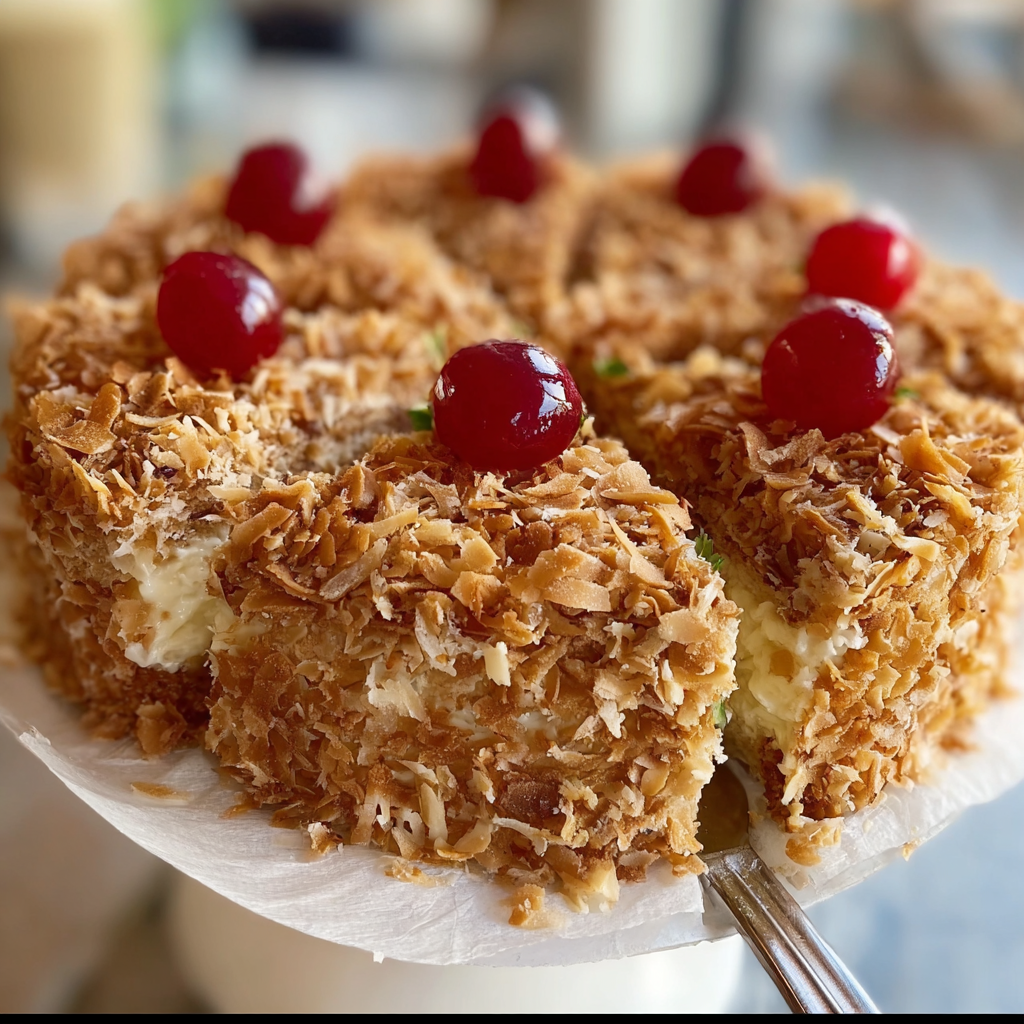
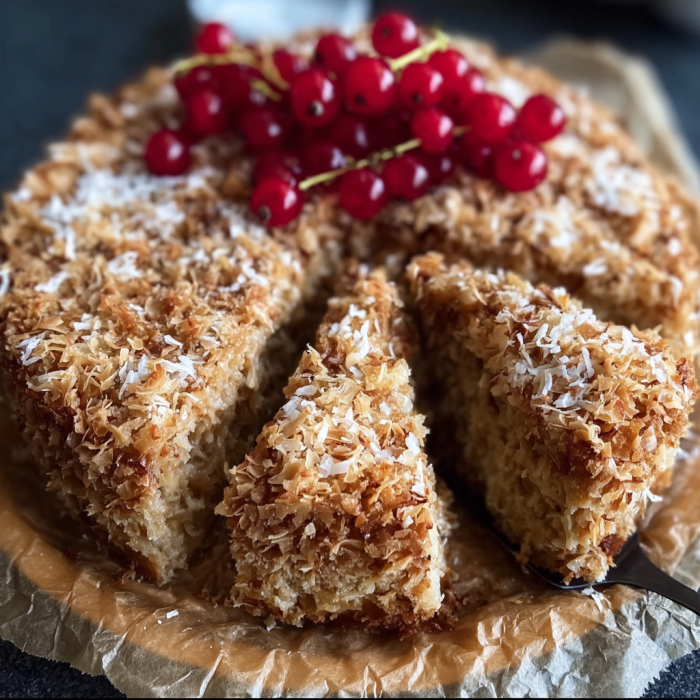
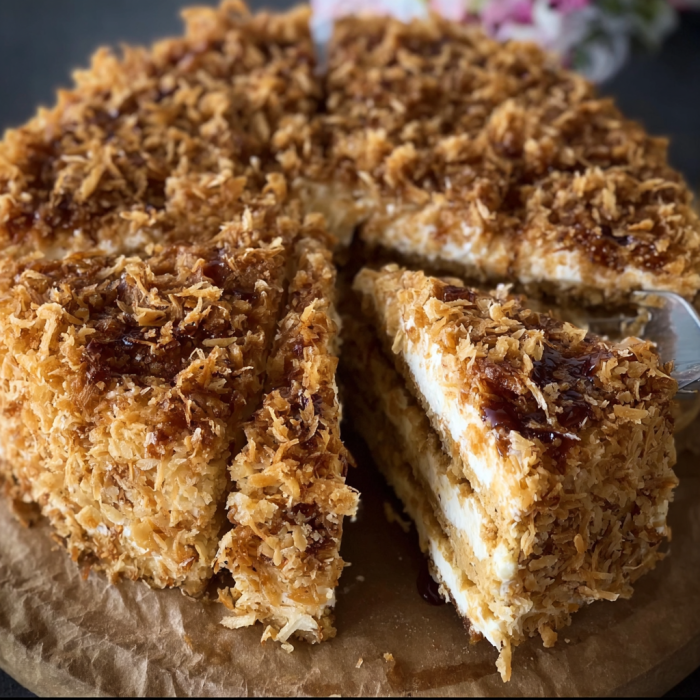
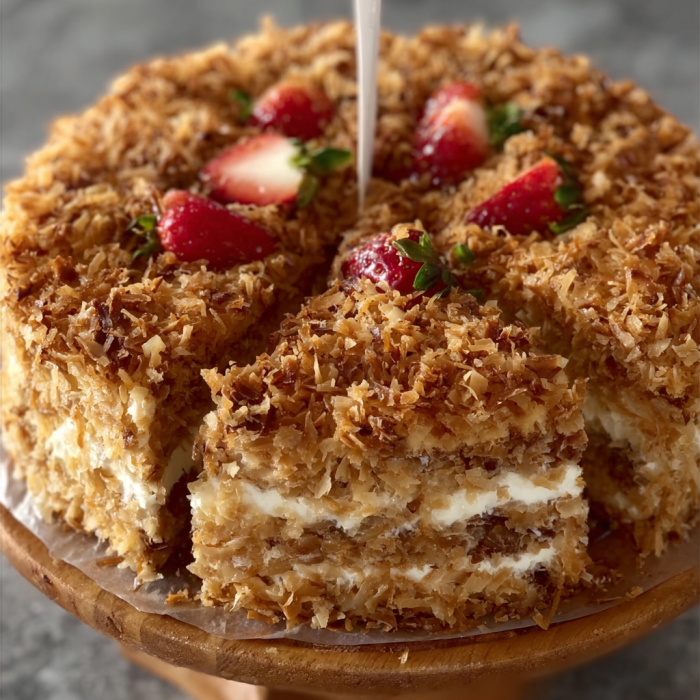
Thank you—truly—for being here again. Every time you return to bake something new with me, it fills this little corner of the kitchen with warmth. And today’s recipe? Oh, it’s a classic Scandinavian treasure: the beloved Danish Dream Cake, or Drømmekage. Light, tender vanilla cake crowned with a caramel-coconut topping that bakes to golden, buttery perfection. I promised you cozy, and here’s proof!
If you want dreamy cakes like this delivered straight to your inbox, don’t forget to subscribe for email updates so you never miss a sweet moment.
Overview of Recipe Content
The Danish Dream Cake is everything its name suggests—soft, airy cake on the bottom and a caramelized coconut topping that sinks slightly into the surface as it bakes, creating the most heavenly texture contrast. It’s simple, classic, and wildly comforting.
Why You’ll Love This Recipe
- Uses pantry staples—super convenient!
- A tender, delicate crumb thanks to whipped eggs and sugar
- A gooey, caramel-coconut topping you’ll want to eat by the spoonful
- One bowl for the cake, one pot for the topping—easy cleanup
- Perfect for potlucks, brunch, or afternoon coffee
What Does Danish Dream Cake Taste Like?
Picture a moist vanilla sponge, light and gently sweet… topped with a buttery brown-sugar coconut layer that caramelizes just enough to be chewy at the edges and soft in the center. Every bite is dreamy, nostalgic, and anything but boring!!
Benefits of This Recipes
- No mixer required (a whisk works fine!)
- Ready in under an hour
- Travels well and slices beautifully
- A great alternative to heavier frosted cakes
Ingredients
For the Cake
- ½ cup butter (1 stick)
- ⅓ cup whole milk
- 3 eggs
- 1 cup sugar
- 1 ¾ cups all-purpose flour
- 1 ½ tsp vanilla extract
- 1 ¾ tsp baking powder
- ¼ tsp salt
For the Coconut Topping
- ½ cup butter (1 stick)
- 1 cup brown sugar
- 2 tbsp milk
- 1 tsp vanilla extract
- 2 cups shredded sweetened coconut
Tools You’ll Need
- 9-inch springform pan
- Two mixing bowls
- Saucepan
- Whisk or hand mixer
- Rubber spatula
- Cooling rack
Additions & Substitutions
Additions
- A pinch of cinnamon in the coconut topping
- Chopped pecans or walnuts mixed into the topping
- A splash of almond extract in the cake batter
- A thin layer of raspberry jam spread on the cake before topping (a Danish twist!)
Substitutions
- Swap whole milk for evaporated milk for extra richness
- Use unsweetened coconut if you prefer a less sweet topping
- Replace vanilla with vanilla bean paste for stronger flavor
How to Make Danish Dream Cake
Step 1 — Prep
Preheat oven to 375°F (190°C).
Grease a 9-inch springform pan.
Step 2 — Melt the Butter
In a small microwave-safe bowl, melt the butter with the milk. Stir and set aside.
Step 3 — Whip the Eggs & Sugar
Beat eggs and sugar until pale, thick, and airy.
Stir in vanilla.
Step 4 — Combine the Dry Ingredients
Add flour, baking powder, and salt. Mix until just combined—don’t overmix.
Step 5 — Fold in the Butter-Milk Mixture
Gently fold it in until the batter is smooth.
Step 6 — Bake the Cake
Pour into the prepared pan and bake 25–30 minutes, until the top is set.
Step 7 — Make the Coconut Topping
While the cake bakes, melt butter, brown sugar, and milk in a saucepan.
Simmer 2–3 minutes.
Remove from heat; stir in vanilla and coconut.
Step 8 — Add the Topping
Remove cake from the oven and spread the warm coconut topping evenly over the surface.
Step 9 — Final Bake
Increase oven temperature to 400°F (205°C).
Bake an additional 8–10 minutes, until the topping turns golden and caramelized.
Step 10 — Cool
Cool completely before slicing. The topping will set into a glorious chewy layer.
What to Serve With Dream Cake
- A cup of strong coffee (the Danish way!)
- Hot tea or chai
- Fresh berries
- Lightly sweetened whipped cream
Tips for Success
- Whip the eggs and sugar well—this creates the soft, fluffy crumb.
- Don’t overmix after adding the flour.
- Add the topping while the cake is still hot so it sinks slightly and sticks.
- Let the cake cool fully; the topping firms as it cools.
Storage Instructions
- Room temperature: 3 days in an airtight container
- Refrigerator: Up to 1 week
- Freezer: Freeze slices for up to 2 months (wrap well!)
General Information
- Yield: Serves 6–8
- Bake Time: ~35–40 minutes total
- Difficulty: Easy
- Best Served: Cooled and slightly chewy
Frequently Asked Questions
Can I bake this in a regular cake pan instead of a springform?
Yes—use a 9-inch round cake pan, but line it with parchment for easy removal.
Can I make this ahead?
Absolutely! It tastes even better the next day.
Why did my topping slide off?
Either the cake was underbaked or the topping was too hot. Make sure the cake is set before adding.
Can I double the recipe?
Yes! Use a 9×13 pan and bake an extra 5–8 minutes.
Conclusion
The Danish Dream Cake is everything you want from a cozy, nostalgic dessert—simple ingredients, easy steps, and a flavor that makes you close your eyes and sigh with happiness. Once you make it, it’ll become a family favorite in no time.
If you love comforting cakes, try these next:
- Coconut Sheet Cake
- Brown Sugar Pound Cake
- Vanilla Almond Snack Cake
Join the Fun!
If you make this dreamy beauty, please leave a review—and share your photos on Pinterest! I’m kicking myself for not photographing my last batch, so I’d love to see yours.
Nutritional Information (Approx. per slice)
- Calories: ~360
- Fat: 19g
- Carbs: 45g
- Protein: 4g
Enjoy every dreamy bite! ✨🍰


Leave a Reply