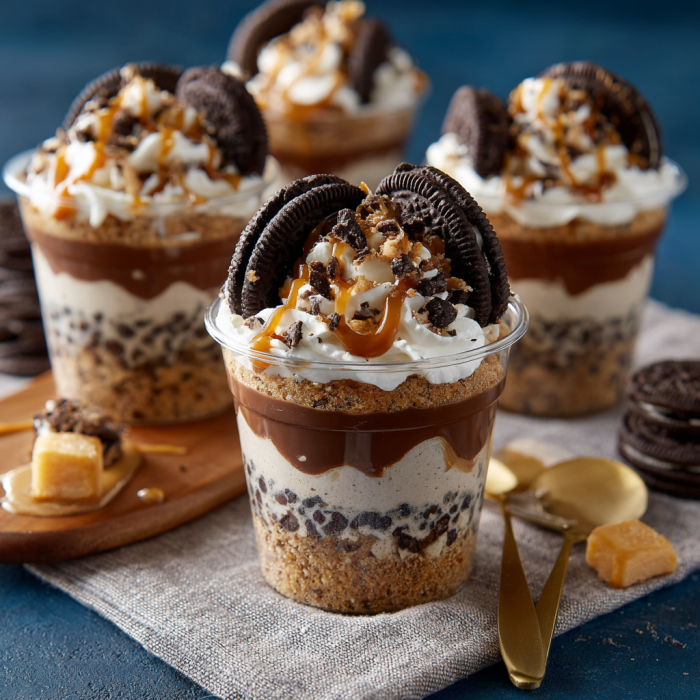
Before we get into all the sweet layers of today’s recipe — thank YOU for being here. If you’re looking for a fun, no-bake, and totally crowd-pleasing dessert that looks fancy and is easy to serve, these Desserts in a Cup are the answer.
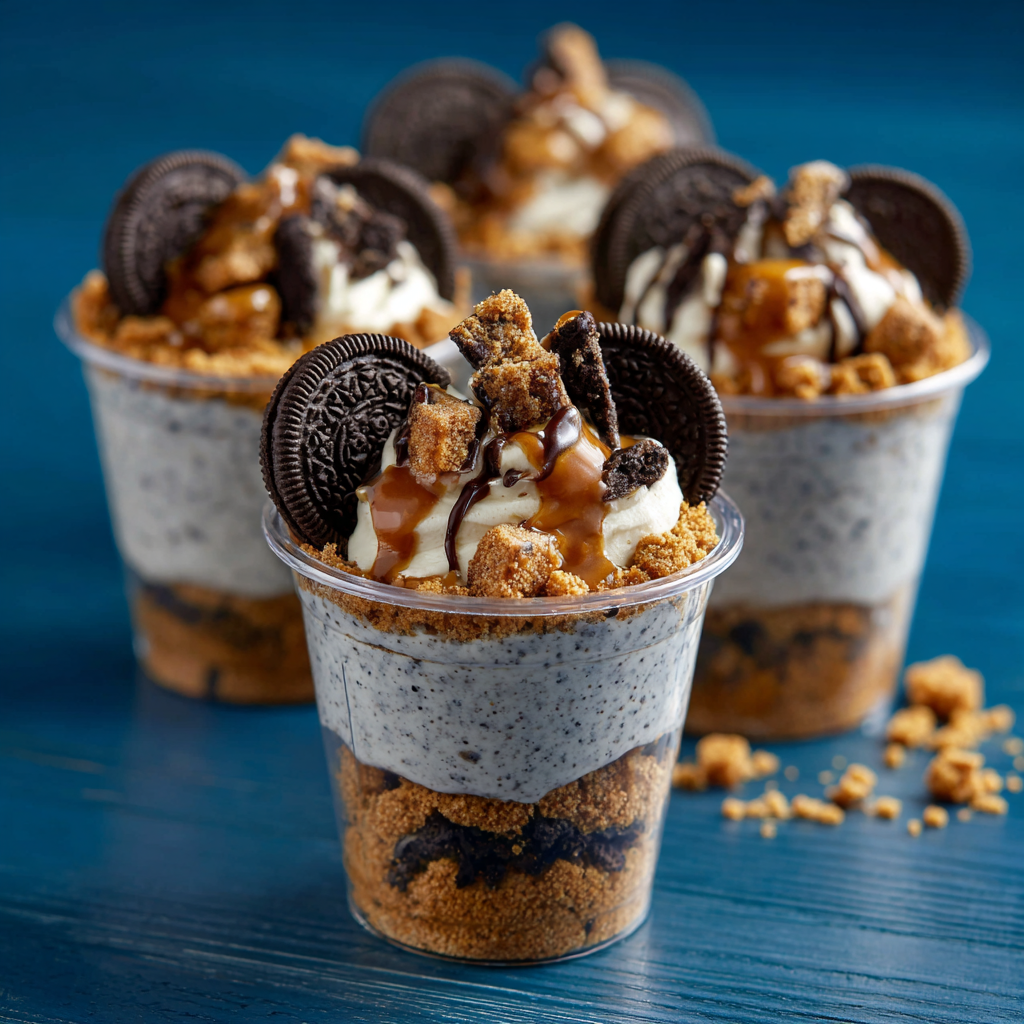
Perfect for parties, potlucks, holidays, or gifting — these 3-in-1 treats are served in 2-ounce portion cups, making them portable, shareable, and totally irresistible. We’re talking layers of cookie crumbs, creamy fillings, and just enough topping to make people say, “Where did you buy these?!”
Spoiler: You didn’t. You made them. And you nailed it. 💪
💌 Want more impressive but simple desserts? Subscribe to my email list and never miss a no-bake favorite!
Overview: What Are Desserts in a Cup?
Desserts in a cup are adorable, mini layered treats served in small plastic portion cups (a.k.a. condiment containers). They’re a great make-ahead option and can be sealed with lids for easy transport or gifting.
This recipe gives you three variations:
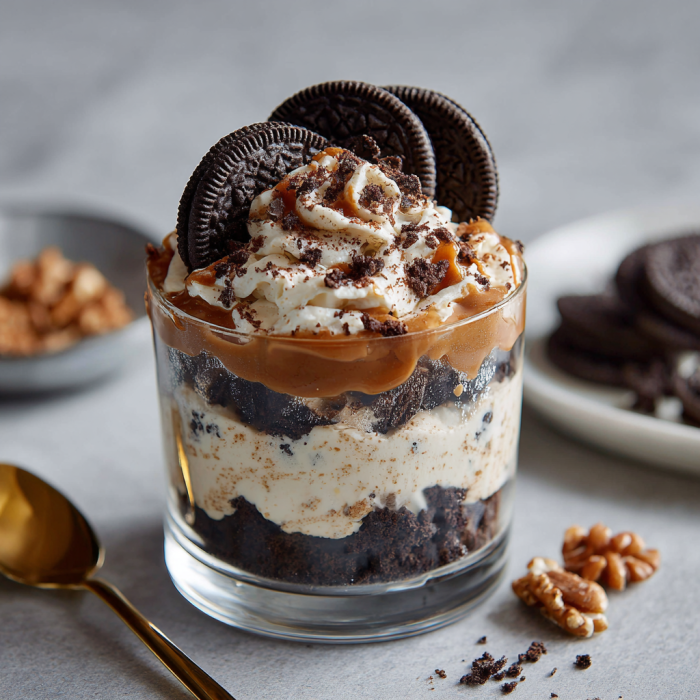
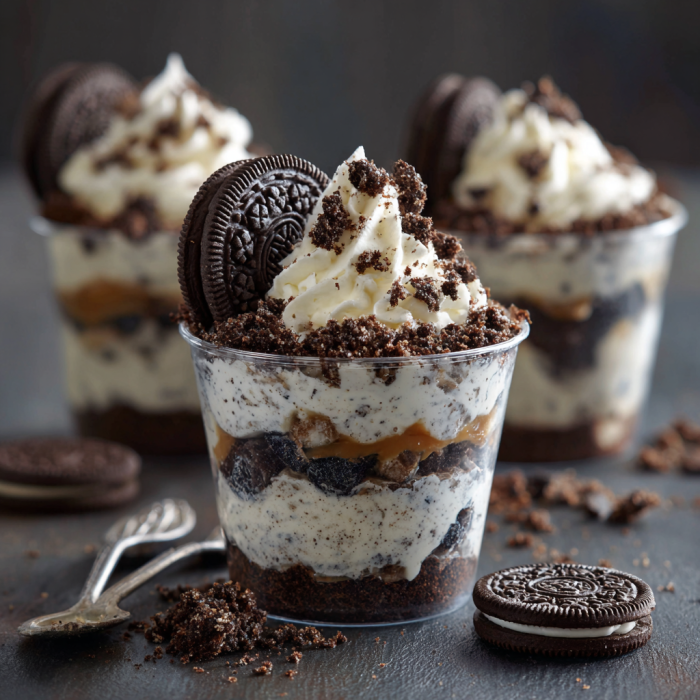
- Classic Cookies & Cream Oreo
- Cozy Caramel Apple
- Rich & Nutty Reese’s Peanut Butter
Why You’ll Love These Treats
- No baking required
- Portable & pre-portioned
- Great for events, birthdays, and bake sales
- Kid-friendly and perfect for little hands
- Make-ahead friendly — refrigerate and go!
Ingredients & Instructions by Flavor
🖤 Oreo Cookies & Cream Cups
Ingredients:
- 2 ½ cups crushed Oreo cookies (with cream)
- Use 2 cups for crust, ½ cup for filling
- ¼ cup salted butter, melted
- 8 oz cream cheese, softened
- 1 cup powdered sugar
- 1 ½ cups cold heavy whipping cream
- 1 tsp pure vanilla extract
- 28 mini Oreo cookies
Instructions:
- Make the Crust: Mix 2 cups crushed Oreos with melted butter. Spoon about 1 tablespoon into each cup and press gently to form a base.
- Cream Layer: Beat cream cheese and powdered sugar until smooth. Add vanilla.
- In another bowl, whip heavy cream until stiff peaks form. Fold whipped cream into the cream cheese mixture. Fold in the reserved ½ cup Oreo crumbs.
- Pipe or spoon over crust. Top with a mini Oreo.
- Chill at least 2 hours before serving.
🍏 Caramel Apple Cups
Ingredients:
- 3 cups Granny Smith apples (peeled, cored, diced)
- ⅓ cup packed light brown sugar
- 3 tbsp salted butter
- 1 tsp cinnamon
- 2 cups crushed vanilla wafers
- ¼ cup salted butter, melted
- 3.4 oz box instant vanilla pudding mix
- 1 ¼ cups cold whole milk
- ¾ cup salted caramel sauce (divided into ¼ cup + ½ cup)
- 1 cup cold heavy whipping cream
Instructions:
- Cook Apples: In a skillet, sauté apples, brown sugar, butter, and cinnamon until tender (about 5–7 minutes). Let cool.
- Make Crust: Mix vanilla wafer crumbs with melted butter. Press 1 tablespoon into each cup.
- Pudding Layer: Whisk pudding mix and milk until thickened. Fold in ¼ cup caramel sauce.
- Whipped Cream Layer: Whip cream to stiff peaks.
- Assemble: Layer crust, pudding, apples, whipped cream. Drizzle with remaining ½ cup caramel. Chill until ready to serve.
🧡 Reese’s Peanut Butter Cups
Ingredients:
- 2 cups crushed Oreo cookies (with cream)
- ¼ cup melted salted butter
- 8 oz cream cheese, softened
- 1 cup powdered sugar
- 1 cup creamy peanut butter (Reese’s brand recommended)
- 1 ½ cups cold heavy whipping cream
- 1 tsp vanilla extract
- Chocolate sauce for drizzling
- 28 Reese’s peanut butter minis
Instructions:
- Crust: Combine Oreo crumbs and melted butter. Press 1 tablespoon into each cup.
- Peanut Butter Filling: Beat cream cheese, powdered sugar, vanilla, and peanut butter until smooth.
- Whip heavy cream to stiff peaks and fold into the peanut butter mix.
- Pipe or spoon filling over crust. Drizzle with chocolate sauce and top with a mini Reese’s cup.
- Chill for 2–4 hours before serving.
Tools You’ll Need
- 28 2-ounce portion cups with lids (disposable or reusable)
- Mixing bowls
- Electric mixer or hand whisk
- Spatulas & piping bags (or zip-top bags with the corner snipped)
- Small cookie scoop or tablespoon for even crust layers
Tips for Success
- Use piping bags for cleaner layers and faster assembly
- Chill overnight for the best texture and flavor
- Customize toppings — sprinkles, crushed candies, or drizzle extra caramel/chocolate!
- Want to make fewer? Halve the recipe — or make all three and freeze leftovers!
Storage Instructions
- Refrigerator: Store with lids for up to 4–5 days
- Freezer: Freeze for up to 1 month — thaw in fridge for 1–2 hours before serving
Frequently Asked Questions
Can I make these the night before?
Absolutely! They actually taste better once they’ve had time to set in the fridge.
What can I use instead of portion cups?
Mini mason jars, ramekins, or any small dessert cup will work.
Can I swap out ingredients?
Yes! These recipes are very forgiving. Try Biscoff cookies for the crust or almond butter instead of peanut butter.
Can I make this gluten-free?
Use gluten-free cookies for the crust and check labels on puddings or sauces.
Conclusion
Whether you’re planning a party, prepping for a bake sale, or just looking for an adorable dessert to brighten someone’s day — these Desserts in a Cup are everything you need. They’re creamy, sweet, totally customizable, and made to impress.
And hey — once you’ve made one, you’ll want to try all three. Trust me. 😉
More No-Bake Desserts to Try:
- Mini Strawberry Cheesecake Cups
- No-Bake S’mores Bars
- Lemon Blueberry Trifle in a Jar
- Peanut Butter Mousse Cups
Share the Sweetness!
If you make these, I’d love to see them!
📸 Tag me on Pinterest or Instagram with your cup creations, and leave a comment below with your favorite flavor!


Leave a Reply