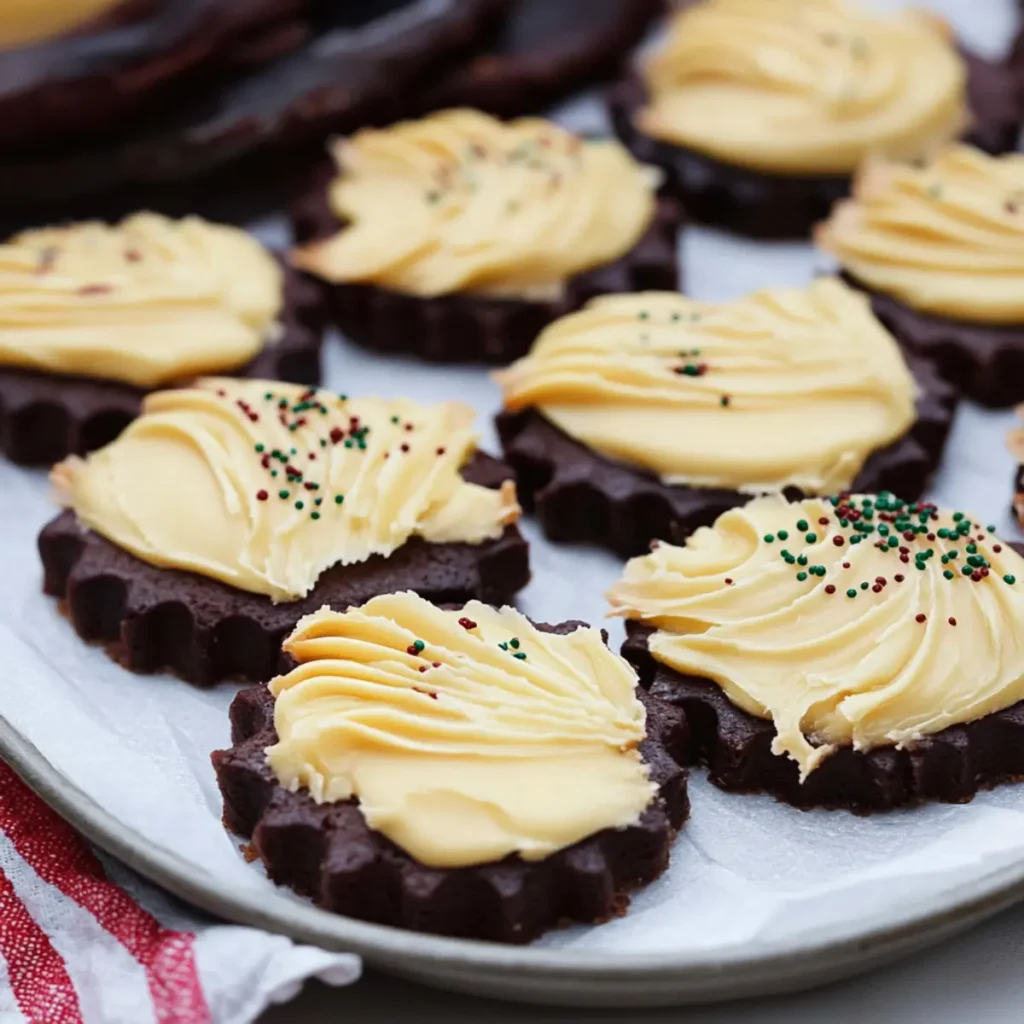
There’s an unmistakable charm to the buttery goodness of homemade Danish Butter Cookies, especially when the holiday season rolls around. Picture this: the first chill in the air as autumn leaves begin to fall, and I find myself in the kitchen baking these delightful treats. With a crispy exterior and a soft, melt-in-your-mouth center, these cookies are not just a pleasure to make but a feast for the senses.
Dipped in rich chocolate and adorned with colorful sprinkles, they create a stunning visual appeal that will dazzle your guests at any festive gathering. What I love most about this recipe is its simplicity; it transforms basic ingredients into something truly extraordinary that evokes warmth and nostalgia. Whether you’re preparing for a cookie exchange or simply indulging in a sweet treat with a cup of tea, this Danish Butter Cookie recipe is bound to enchant everyone around your table. Let’s dive into creating these little bites of happiness that are sure to fill your home with cheer!
Why are Danish Butter Cookies a must-try?
Delightful Memories: Create lasting memories with these cookies that transport you back to your childhood holidays.
Effortless Preparation: Even if you’re new to baking, this simple recipe allows anyone to create something delicious.
Irresistible Flavor: The combination of buttery goodness and rich chocolate creates an unforgettable taste that everyone loves.
Perfect for Sharing: These cookies make a charming addition to cookie platters and festive gatherings, inviting smiles all around.
Versatile Bliss: Dabble with different chocolate types or add sprinkles for a personal touch that showcases your style.
Make-Ahead Treats: With easy storage options, you can prepare these cookies in advance and enjoy them fresh anytime.
Danish Butter Recipe Ingredients
For the Cookies
• 1 cup unsalted butter – Ensure it’s at room temperature for easy creaming and maximum flavor.
• ⅔ cup granulated sugar – This adds the perfect sweetness and helps achieve that light, airy texture.
• 1 large egg – Aids in binding and keeps the cookies moist; using it at room temperature yields the best results.
• 1 teaspoon vanilla extract – Introduces a warm, inviting aroma that enhances the cookie flavor.
• 2 cups all-purpose flour – Essential for the cookie structure; no substitutions will achieve the traditional texture.
• ¼ teaspoon salt – Balances the sweetness and elevates overall flavor.
• 2 teaspoons milk – Adjusts the dough for piping; you can add a little more if the dough feels too thick.
For the Chocolate Dipping
• 3 oz semi-sweet or milk chocolate – Choose good quality chocolate for a rich, indulgent flavor when dipped.
• 3 tablespoons sprinkles – These add a fun and festive flair, making your cookies visually stunning.
Remember, this Danish Butter Recipe is all about creating delicious cookies that really shine during the holiday season!
How to Make Danish Butter Cookies
-
Cream Butter and Sugar: Start by creaming together the softened unsalted butter and granulated sugar in a stand mixer or with a hand mixer until the mixture is light and fluffy—this takes about 3-5 minutes.
-
Incorporate Wet Ingredients: Add in the large egg and vanilla extract to the creamed mixture. Mix until everything is well combined and the texture is smooth and creamy.
-
Add Dry Ingredients: Gradually add the all-purpose flour and salt. Mix on low speed just until combined; avoid overmixing to keep the cookies tender.
-
Adjust Dough Consistency: Pour in the milk and mix gently until the dough reaches a pipeable consistency that holds its shape but is not too runny.
-
Pipe Cookies: Transfer the dough into a piping bag fitted with a large tip. Pipe 2-inch swirls on a lined baking sheet, leaving about 3 inches between each for spreading.
-
Chill: Pop the piped cookies into the fridge for 15-20 minutes. Chilling helps them keep their shape during baking.
-
Preheat Oven: While the cookies chill, preheat your oven to 350°F (175°C), ensuring it’s ready for baking.
-
Bake Cookies: Bake the cookies for about 15 minutes, or until the edges turn a lovely golden brown. Your kitchen will smell delightful!
-
Cool: Let the cookies sit on the baking sheet for about 10 minutes. Then, carefully transfer them to a wire rack to cool completely.
-
Prepare Chocolate: Melt the chocolate in a double boiler or microwave in 20-second increments until it’s completely smooth and luscious.
-
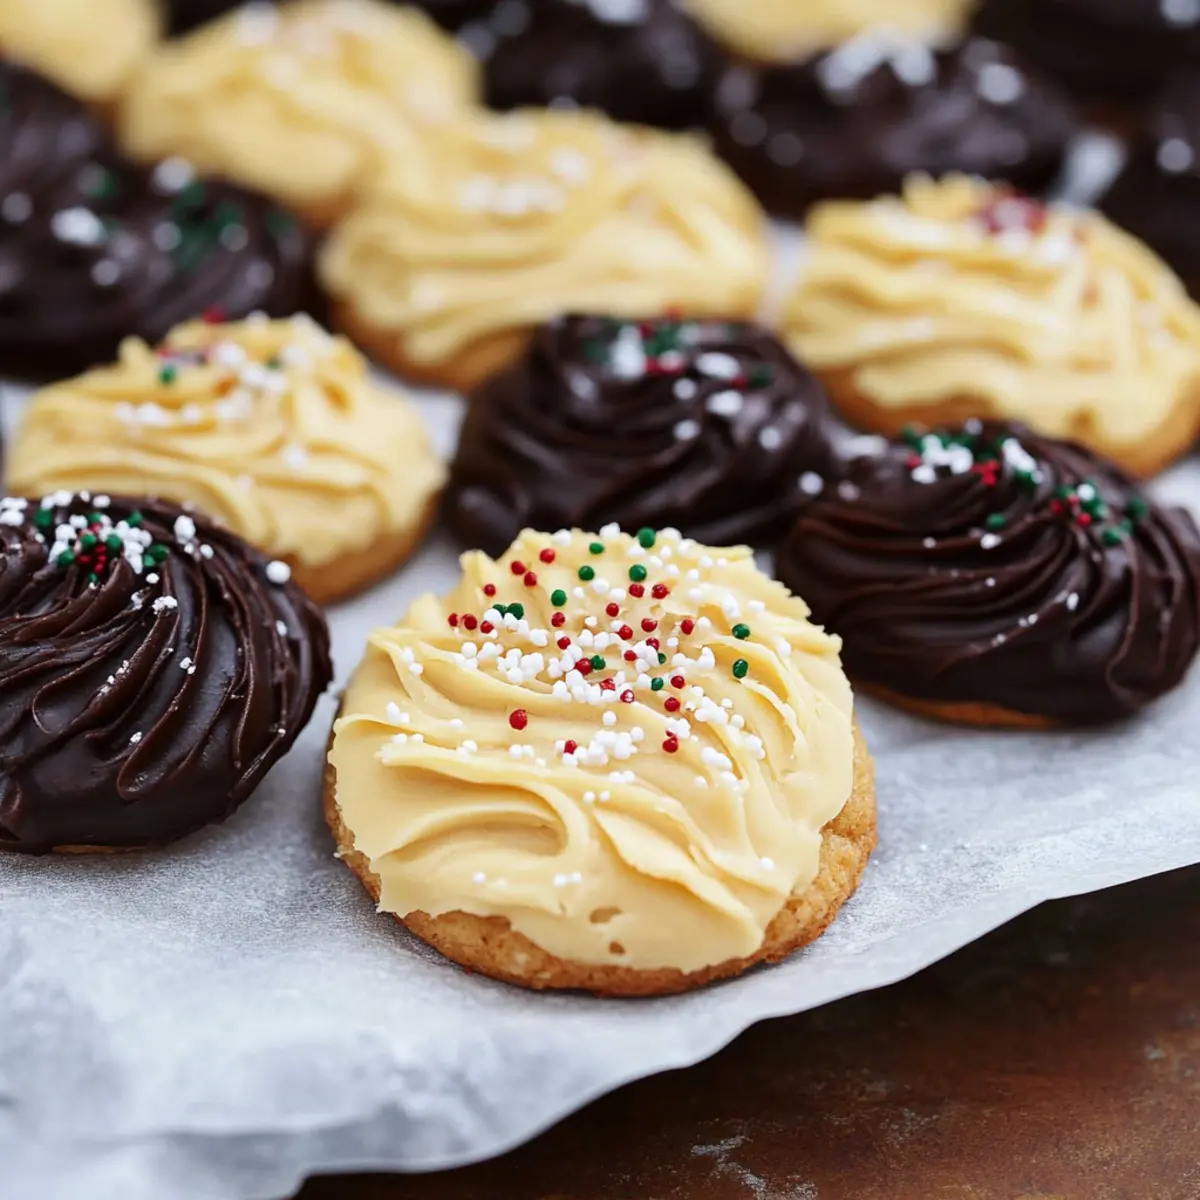
Decorate: Dip ⅔ of each cooled cookie into the melted chocolate, then place them on parchment paper. Sprinkle with festive sprinkles to add charm and let them dry completely.
Optional: Drizzle some extra chocolate on top for a decorative touch!
Exact quantities are listed in the recipe card below.
Expert Tips for Danish Butter Cookies
-
Perfectly Room Temperature: Ensure the butter and egg are at room temperature to achieve a creamy, airy texture for your Danish Butter Cookies.
-
Avoid Overmixing: Mix the dough just until combined; overmixing can lead to tough cookies rather than tender, melt-in-your-mouth bliss.
-
Chill for Shape: Don’t skip the chilling step! Refrigerating your piped cookies ensures they hold their shape beautifully while baking.
-
Piping Technique: Use a wide piping tip, such as an Ateco 849, to create smooth, even swirls without spreading during baking.
-
Skip Parchment Paper: For best results, pipe the cookies directly onto the baking sheet instead of using parchment paper, as this helps avoid spreading.
-
Quality Chocolate: Use good-quality semi-sweet or milk chocolate for dipping; the flavor makes a delightful difference in your finished Danish Butter Cookies.
How to Store and Freeze Danish Butter Cookies
Room Temperature: Store in an airtight container at room temperature for up to 1 week. This keeps them fresh and delicious for those cozy snacking moments.
Freezer: For longer storage, freeze baked cookies (without chocolate dipping) for up to 3 months. Wrap each cookie in plastic wrap and place them in an airtight freezer bag to prevent freezer burn.
Reheating: To enjoy thawed cookies warm, pop them in a preheated oven at 300°F (150°C) for about 5 minutes. This helps restore their delightful crispiness while maintaining that soft center.
Remember, for best results, freeze the Danish Butter Cookies before dipping them in chocolate so they maintain their delightful texture!
What to Serve with Classic Danish Butter Cookies Dipped in Chocolate?
These delightful cookies are sure to create a warm and inviting atmosphere at your holiday gatherings.
-
Rich Hot Chocolate: A velvety mug of hot chocolate complements the buttery softness, creating a cozy pairing that warms the soul.
-
Freshly Brewed Coffee: The rich flavor of coffee balances the sweetness of the cookies, enhancing the overall tasting experience.
-
Spiced Chai Tea: The aromatic spices of chai create a beautiful contrast against the cookies, making every bite feel festive.
-
Creamy Eggnog: A holiday classic, the creamy, spiced notes of eggnog harmonize perfectly with these elegant treats.
-
Fruit and Nut Platter: Fresh fruits and crunchy nuts add a refreshing texture that contrasts nicely with the buttery cookies.
-
Vanilla Ice Cream: Serve a scoop of ice cream alongside warm cookies; the cold melt-in-your-mouth experience will surely impress!
-
Chocolate-Dipped Strawberries: For a touch of indulgence, this pairing brings an extra layer of chocolate excitement that mirrors the cookies.
-
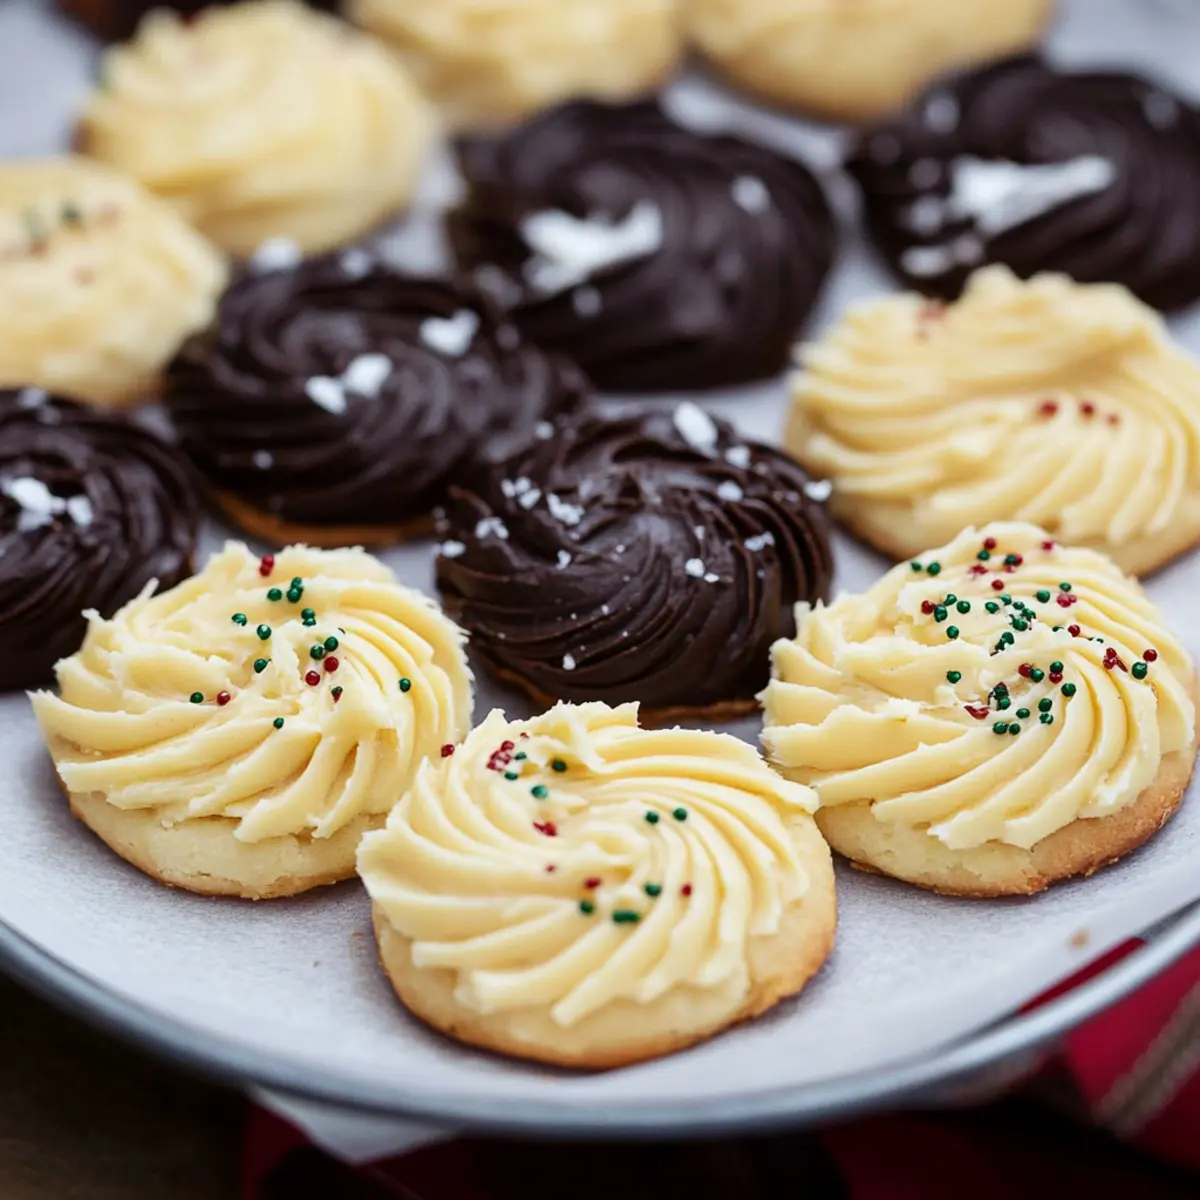
Festive Cookie Platter: Combine with various holiday cookies for a beautiful display that invites everyone to indulge.
-
Nutty Hot Toddy: The warmth and sweetness of this drink pair well with the crispy yet soft texture of the cookies, creating a perfect end to a chilly evening.
These delightful pairings enhance the joy of enjoying your Danish Butter Recipe, bringing comfort and cheer to your festive gatherings!
Make Ahead Options
These Classic Danish Butter Cookies are perfect for meal prep enthusiasts! You can prepare the dough up to 24 hours in advance by piping the cookies onto a baking sheet and refrigerating them until you’re ready to bake. This chilling step not only helps maintain their lovely shape but also enhances the flavors. Alternatively, you can bake the cookies and let them cool completely, then store them in an airtight container at room temperature for up to 1 week. Just before serving, dip them in melted chocolate and sprinkle with festive toppings. With these make-ahead options, you’ll have more time to enjoy the festive season without sacrificing the joy of baking!
Danish Butter Recipe Variations
Elevate your Danish Butter Cookies with these delightful twists that cater to various tastes and dietary needs!
-
Almond Extract: Swap vanilla for almond extract to infuse the cookies with a nutty warmth that complements the buttery flavor beautifully.
-
Chocolate Type: Experiment with dark or white chocolate for dipping; each option brings a unique flair to the classic cookie taste.
-
Nutty Bliss: Add chopped walnuts or almonds to the dough for a delightful crunch and added richness that everyone will love.
-
Dried Fruits: Incorporate dried cranberries or cherries into the dough for a hint of sweetness and a pop of color in each bite.
-
Citrus Zest: A teaspoon of lemon or orange zest brightens the flavor profile, adding a refreshing citrus undertone that contrasts nicely with the richness.
-
Spicy Kick: Add a pinch of cinnamon or nutmeg to the dough for a warm, cozy spice that makes these cookies perfect for the holiday season.
-
Healthier Option: Use coconut oil instead of butter for a vegan take; it will impart a subtle coconut flavor while keeping the cookies tender.
-
Savory Twist: Mix in a touch of sea salt and rosemary for a savory version that provides an unexpected yet delicious contrast to the traditional sweet cookies.
Classic Danish Butter Cookies Dipped in Chocolate Recipe FAQs
How do I choose the right butter for my Danish Butter Cookies?
Absolutely! It’s essential to use unsalted butter that is at room temperature for the best results. This allows for effortless creaming with sugar, resulting in a light and airy texture. Look for high-quality butter without additives for the richest flavor in your cookies.
How should I store my Danish Butter Cookies?
For optimum freshness, store your Danish Butter Cookies in an airtight container at room temperature for up to 1 week. If you want to save them for a later date, you can freeze them (before chocolate dipping) for up to 3 months. Just wrap each cookie tightly in plastic wrap and place them in a labeled freezer bag to avoid freezer burn.
Can I freeze my Danish Butter Cookies? If so, how?
Certainly! Freezing these cookies is a great way to preserve their delightful taste and texture. After baking, let the cookies cool completely. Then, wrap each one individually in plastic wrap and place them in a freezer-safe bag or container. They will stay fresh for up to 3 months. When you’re ready to enjoy them, simply let them thaw at room temperature, or warm them in a preheated oven at 300°F (150°C) for about 5 minutes to restore their crispiness.
What should I do if my dough feels too thick?
If your cookie dough appears too thick to pipe smoothly, simply add small amounts of milk, one teaspoon at a time, to reach a pipeable consistency. It should hold its shape well but not be too runny—aim for a texture that is smooth and slightly sticky. This adjustment will help maintain the beautiful swirls you’ll pipe onto the baking sheet!
Are there any dietary considerations for Danish Butter Cookies?
Definitely! These cookies contain gluten and dairy, so they’re not suitable for those with gluten or dairy allergies. For substitutions, you can try using gluten-free flour blends and dairy-free butter alternatives; however, the texture may vary. Remember to always check labels for any additional allergens if serving to guests or if you’ve got pets around!
How can I enhance the flavor of my Danish Butter Cookies?
Very much! You can experiment by substituting the vanilla extract with almond extract for a subtly different flavor experience. Additionally, you can add finely chopped nuts or dried fruits to the dough for extra texture and taste. Just be mindful to not overwhelm the classic butter flavor that these cookies celebrate.

Deliciously Easy Danish Butter Recipe for Festive Moments
Equipment
- Stand Mixer
- Piping Bag
- baking sheet
- double boiler
Ingredients
For the Cookies
- 1 cup unsalted butter Ensure it’s at room temperature for easy creaming.
- ⅔ cup granulated sugar Adds sweetness and helps achieve light texture.
- 1 large egg Using at room temperature yields the best results.
- 1 teaspoon vanilla extract Enhances the cookie flavor.
- 2 cups all-purpose flour Essential for cookie structure.
- ¼ teaspoon salt Balances the sweetness.
- 2 teaspoons milk Adjusts the dough for piping.
For the Chocolate Dipping
- 3 oz semi-sweet or milk chocolate Choose good quality for rich flavor.
- 3 tablespoons sprinkles Add a fun and festive flair.
Instructions
Cookie Preparation
- Cream butter and sugar until light and fluffy, about 3-5 minutes.
- Incorporate egg and vanilla, mixing until smooth.
- Gradually add flour and salt; mix on low until just combined.
- Adjust dough consistency by adding milk until it's pipeable.
- Pipe 2-inch swirls onto lined baking sheets.
- Chill piped cookies in the fridge for 15-20 minutes.
- Preheat oven to 350°F (175°C) while cookies chill.
- Bake cookies for about 15 minutes, until edges are golden.
- Cool on the baking sheet for 10 minutes before transferring to a wire rack.
- Melt chocolate until smooth.
- Dip ⅔ of each cookie in chocolate and sprinkle with sprinkles.

Leave a Reply