
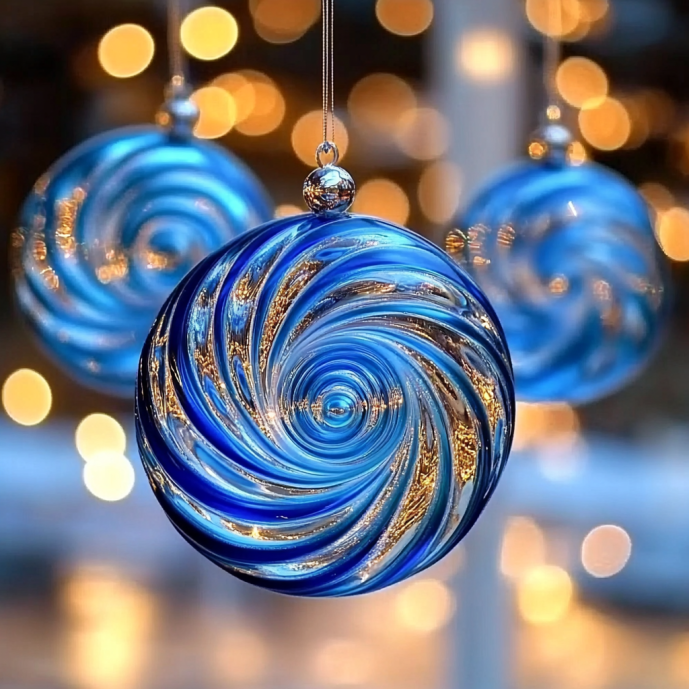
Crayon suncatchers are a delightful and creative way to add color and personality to your home decor. Not only are they a fun craft project for children and adults alike, but they also bring a certain warmth to your windows, casting beautiful, colorful light throughout your space. This easy DIY project transforms old, broken crayons into stunning suncatchers, providing a sustainable way to repurpose materials you may have lying around. As you prepare to brighten your windows with these colorful creations, you’ll also enjoy the tactile experience of melting crayons and watching them morph into vibrant, stained glass-like pieces. Whether you’re looking for a weekend project with the kids, a unique gift idea, or a fun way to spruce up your living space, crayon suncatchers are a perfect choice!
Why You’ll Love This Crayon Suncatchers
- Eco-Friendly: Use old crayons, reducing waste and promoting recycling.
- Easy to Make: Simple enough for kids but enjoyable for all ages.
- Customizable: Create unique designs and patterns to match your decor.
- Sensory Experience: Enjoy the bright colors and satisfying melting process.
- Decorative Appeal: Brighten your home with beautiful, colorful light displays.
Materials
- Used crayons (broken or whole)
- Silicone molds (shapes of your choice)
- Oven or toaster oven
- Parchment paper
- Baking sheet
- Non-stick spray or oil (optional)
Step-by-Step Instructions
Preheat the Oven
- Preheat your oven to 200°F (93°C).
Prepare the Crayons
- Remove wrappers from the crayons and break them into small pieces (about 1-inch).
- Sort colors into separate small bowls or directly into molds.
Fill the Molds
- Lightly spray molds with non-stick spray if desired.
- Fill the molds with crayon pieces, mixing colors for a more vibrant effect.
Bake the Crayons
- Place filled molds on a baking sheet.
- Carefully place the baking sheet in the oven.
- Bake for 10-15 minutes or until crayons melt completely (keep an eye on them to prevent burning).
Cool the Suncatchers
- Once melted, remove from the oven and allow to cool at room temperature.
- Once cooled, gently pop out the melted crayon shapes from the molds.
Hang Your Suncatchers
- Use fishing line or string to hang the suncatchers in a sunny window!
Tips & Variations
- Color Combos: Mix and match crayon colors for different effects.
- Shape Variety: Use different molds (hearts, stars, flowers) for various designs.
- Scented Crayons: Add a few drops of essential oils to the melted crayons for a pleasant scent.
- Layered Designs: Pour melted crayons one color at a time for a layered effect.
Frequently Asked Questions
Q1: What if my crayons don’t melt completely?
A1: Ensure your oven is set to a low temperature and check occasionally, as melting times vary based on crayon thickness.
Q2: Can I use non-toxic crayons?
A2: Yes, non-toxic crayons are a great choice and are typically eco-friendly.
Q3: Are the suncatchers safe to hang in windows?
A3: Yes, these suncatchers are safe for indoor display. Avoid placing them in direct contact with heat sources.
Q4: How can I remove the suncatchers from the mold if they stick?
A4: Try gently loosening the edges with a butter knife before popping them out, or use a non-stick mold.
Serving Suggestions or Pairings
- Pair these suncatchers with a refreshing lemonade or iced tea to bring out the summer vibes!
- Use as party decorations for a vibrant touch during gatherings or celebrations.
Final Thoughts
Making crayon suncatchers is a simple yet rewarding craft that not only allows for creativity but also brightens your home. Experiment with colors and shapes to find your favorite combinations, and don’t forget to share your creations or any unique twists you’ve added! Leave a comment below with your version or tips for others to enjoy this colorful DIY project!
Leave a Reply